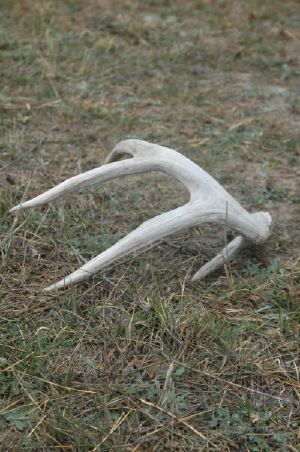
It’s shed hunting season in many eastern states in the country, and the western states won’t be far behind in a month or two. Everyone loves getting out in their deer hunting areas to scout last season’s sign, look for new spots, and find those highly sought-after deer sheds.

Every shed antler is a prize, whether it’s a small fork antler, or a matched set of a 10-point rack. These deer sheds can give you an idea of a buck’s habits and home range, as well as be a keepsake reminder of a special day or time in the outdoors. So, rather than just let that shed antler collect dust on a shelf or in a pile on the floor, why not make it into something that you can use on future hunts and outdoor excursions?
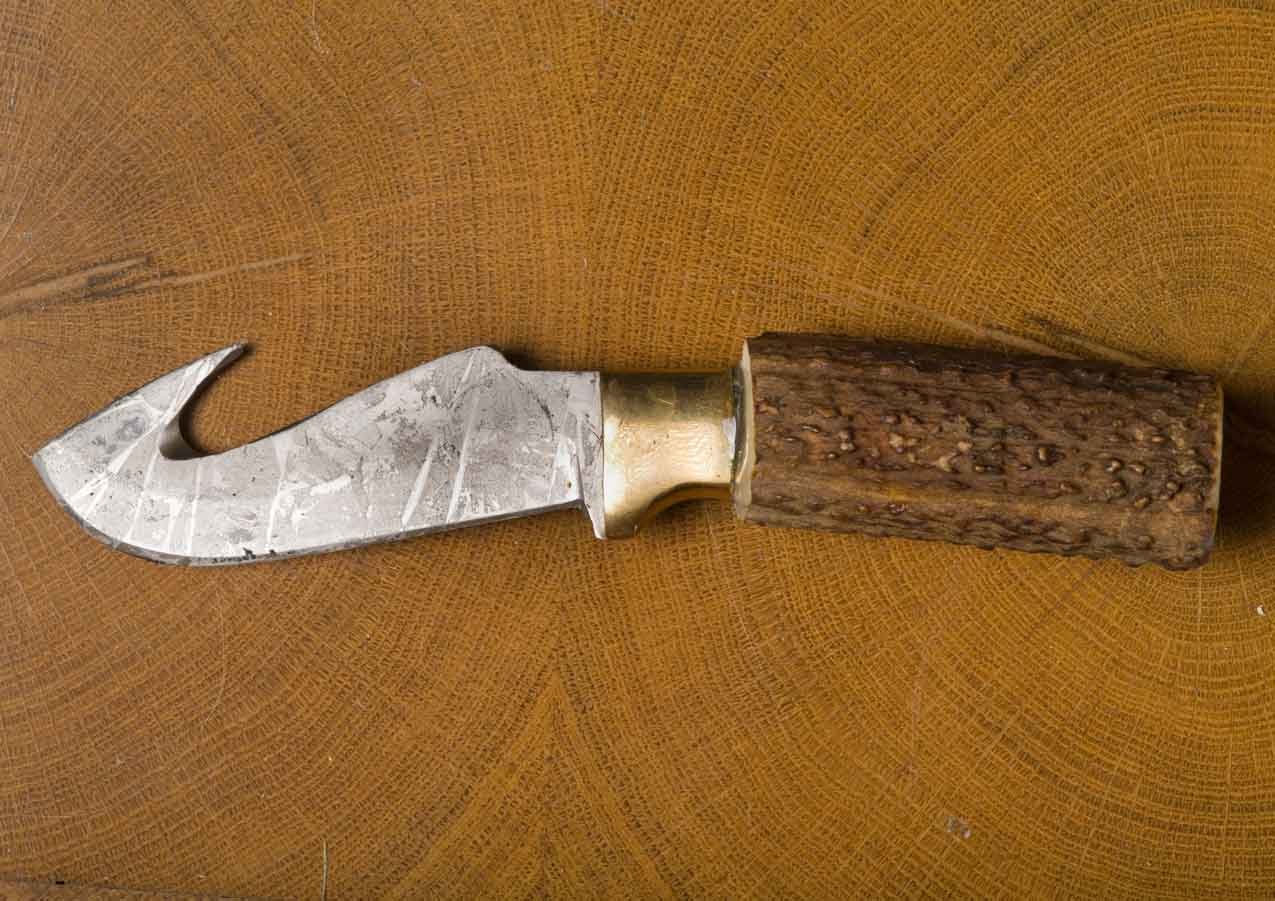
That’s why deer sheds make great hunting knife handles — they look awesome, they signify a special hunt or memory, they’re inexpensive and they’re durable. But, making a knife from scratch or replacing the handle with a deer shed involves a decent amount of work, and there are several things to keep in mind before starting the project.
Our sister publication, BLADE Magazine, has a wealth of information about knives, blades, sharpening, creating and more from the world’s greatest knifemakers and experts. The following is an article written by Joe Szilaski on tips for making knife handles out of elk antlers — and these same principles will apply to white-tailed deer sheds as well.
Keys To The Best Elk Antler Handles
by Joe Szilaski
Reader question: I enjoyed reading and learned a lot from your story on using elk antler on hidden-tang knives. I have some nice elk antlers and would like to use them for the handle on a full-tang knife. You mentioned in your article that elk antler can be very porous in the center. What is the best way to go about cutting slabs from elk? (Johnny C., address n/a)
An elk rack is quite massive. Each time I hold one of these magnificent specimens, my mind wanders off to great childhood memories. I grew up in Hungary where elk were plentiful, and I was fortunate that my godfather was the forest ranger. One of his responsibilities was monitoring the elk herds, and I saw many majestic bull elks, especially during full rut season.
Elk antler can make an excellent handle for a full-tang knife. Before answering your question, I would like to tell BLADE readers what to look for when buying elk antlers for handles.
Try to buy a “seasoned” rack; otherwise, you will need to store it for a few years before use. You cannot be 100 percent sure it is a seasoned rack unless the seller knows and is honest about it. The only way to be sure is to cut into the antler and see if the core is sort of gooey or oily feeling. If so, this means the antler is still green and you should wait at least two to three years before using it. Using green antler is not a good idea because the shrinkage will be much greater. This is the case with most natural materials.

I look for an antler that feels heavy for its size. In other words, the heavier the antler, the more solid it should be. The heavier weight is a good indication the antler is less porous in the center and has a thicker outer wall. A lighter antler is usually more porous in the center and has a thinner outer wall.
Of course, the thinner wall does not mean you cannot use the antler for scales. You can but it takes a little more work. As I mentioned in the July BLADE, you must remove the porous section and fill the void with wood or other solid material.
When working with a more solid antler, by the time you grind your scales to the desired thickness and size, there will not be much porous section left to worry about—and that you can saturate with extra-thin Super Glue® in order to make it solid. Most likely you will need to repeat the application of glue a few times. Make sure the glue has completely dried before applying another coat.
As far as the best way to cut your antler, I can tell you what has worked for me. WARNING: Be safety conscious if you use tools such as a power saw.
Before cutting it, I study the rack from different angles and determine which sections would be more suitable for hidden-tang knives or as slabs for full-tang knives. I hold the different parts of the antler to find the sections that feel most comfortable in my hand. From there, I mark with masking tape where each cut will be.
After cutting the section to size, I cut it in half lengthwise to form slabs. I mark the centerline using masking tape along the top, bottom and ends of the antler.
When positioning the antler into the vise, I use 10-ounce leather to line the vise jaws. The leather prevents damage to the antler and will result in a better grip because the soft leather will form to the antler’s irregular shape.
I use a small precision drill block to check the angle of the antler in the vise. The goal is to have the centerline positioned perfectly vertical for cutting.
Most of the time, I use a small wooden wedge to compensate for the irregularity of the antler and to help true up the centerline. If marked and cut correctly, the slabs should be similar in size and thickness, so not much effort will be required to grind or sand the scales flat.
If the antler is small, I may use a wide-faced, sheet-metal locking pliers instead of a machinist’s vise and slowly push the antler on the band-saw blade to cut lengthwise.
Only your imagination limits what you can make using elk antler. Dave Herman, my friend and ex-partner, made a knife and gave it to me as a present in 1989. It shows how creative you can be with elk antler. The handle is pieced together like a jigsaw puzzle. The top half is hidden-tang construction and the bottom half is slabs. I made a few sub-hilt fighters with similar “jigsaw handles.” It is a lot of fun but also a lot of fitting. As noted, you are limited only by your imagination—and maybe your patience.
________________________________________

