You’d never consider taking your new bow into the woods without practicing with it first. Why put out scouting cameras before testing them? Doing so can save a lot of heartache and missed pictures.
By Steve Bartylla
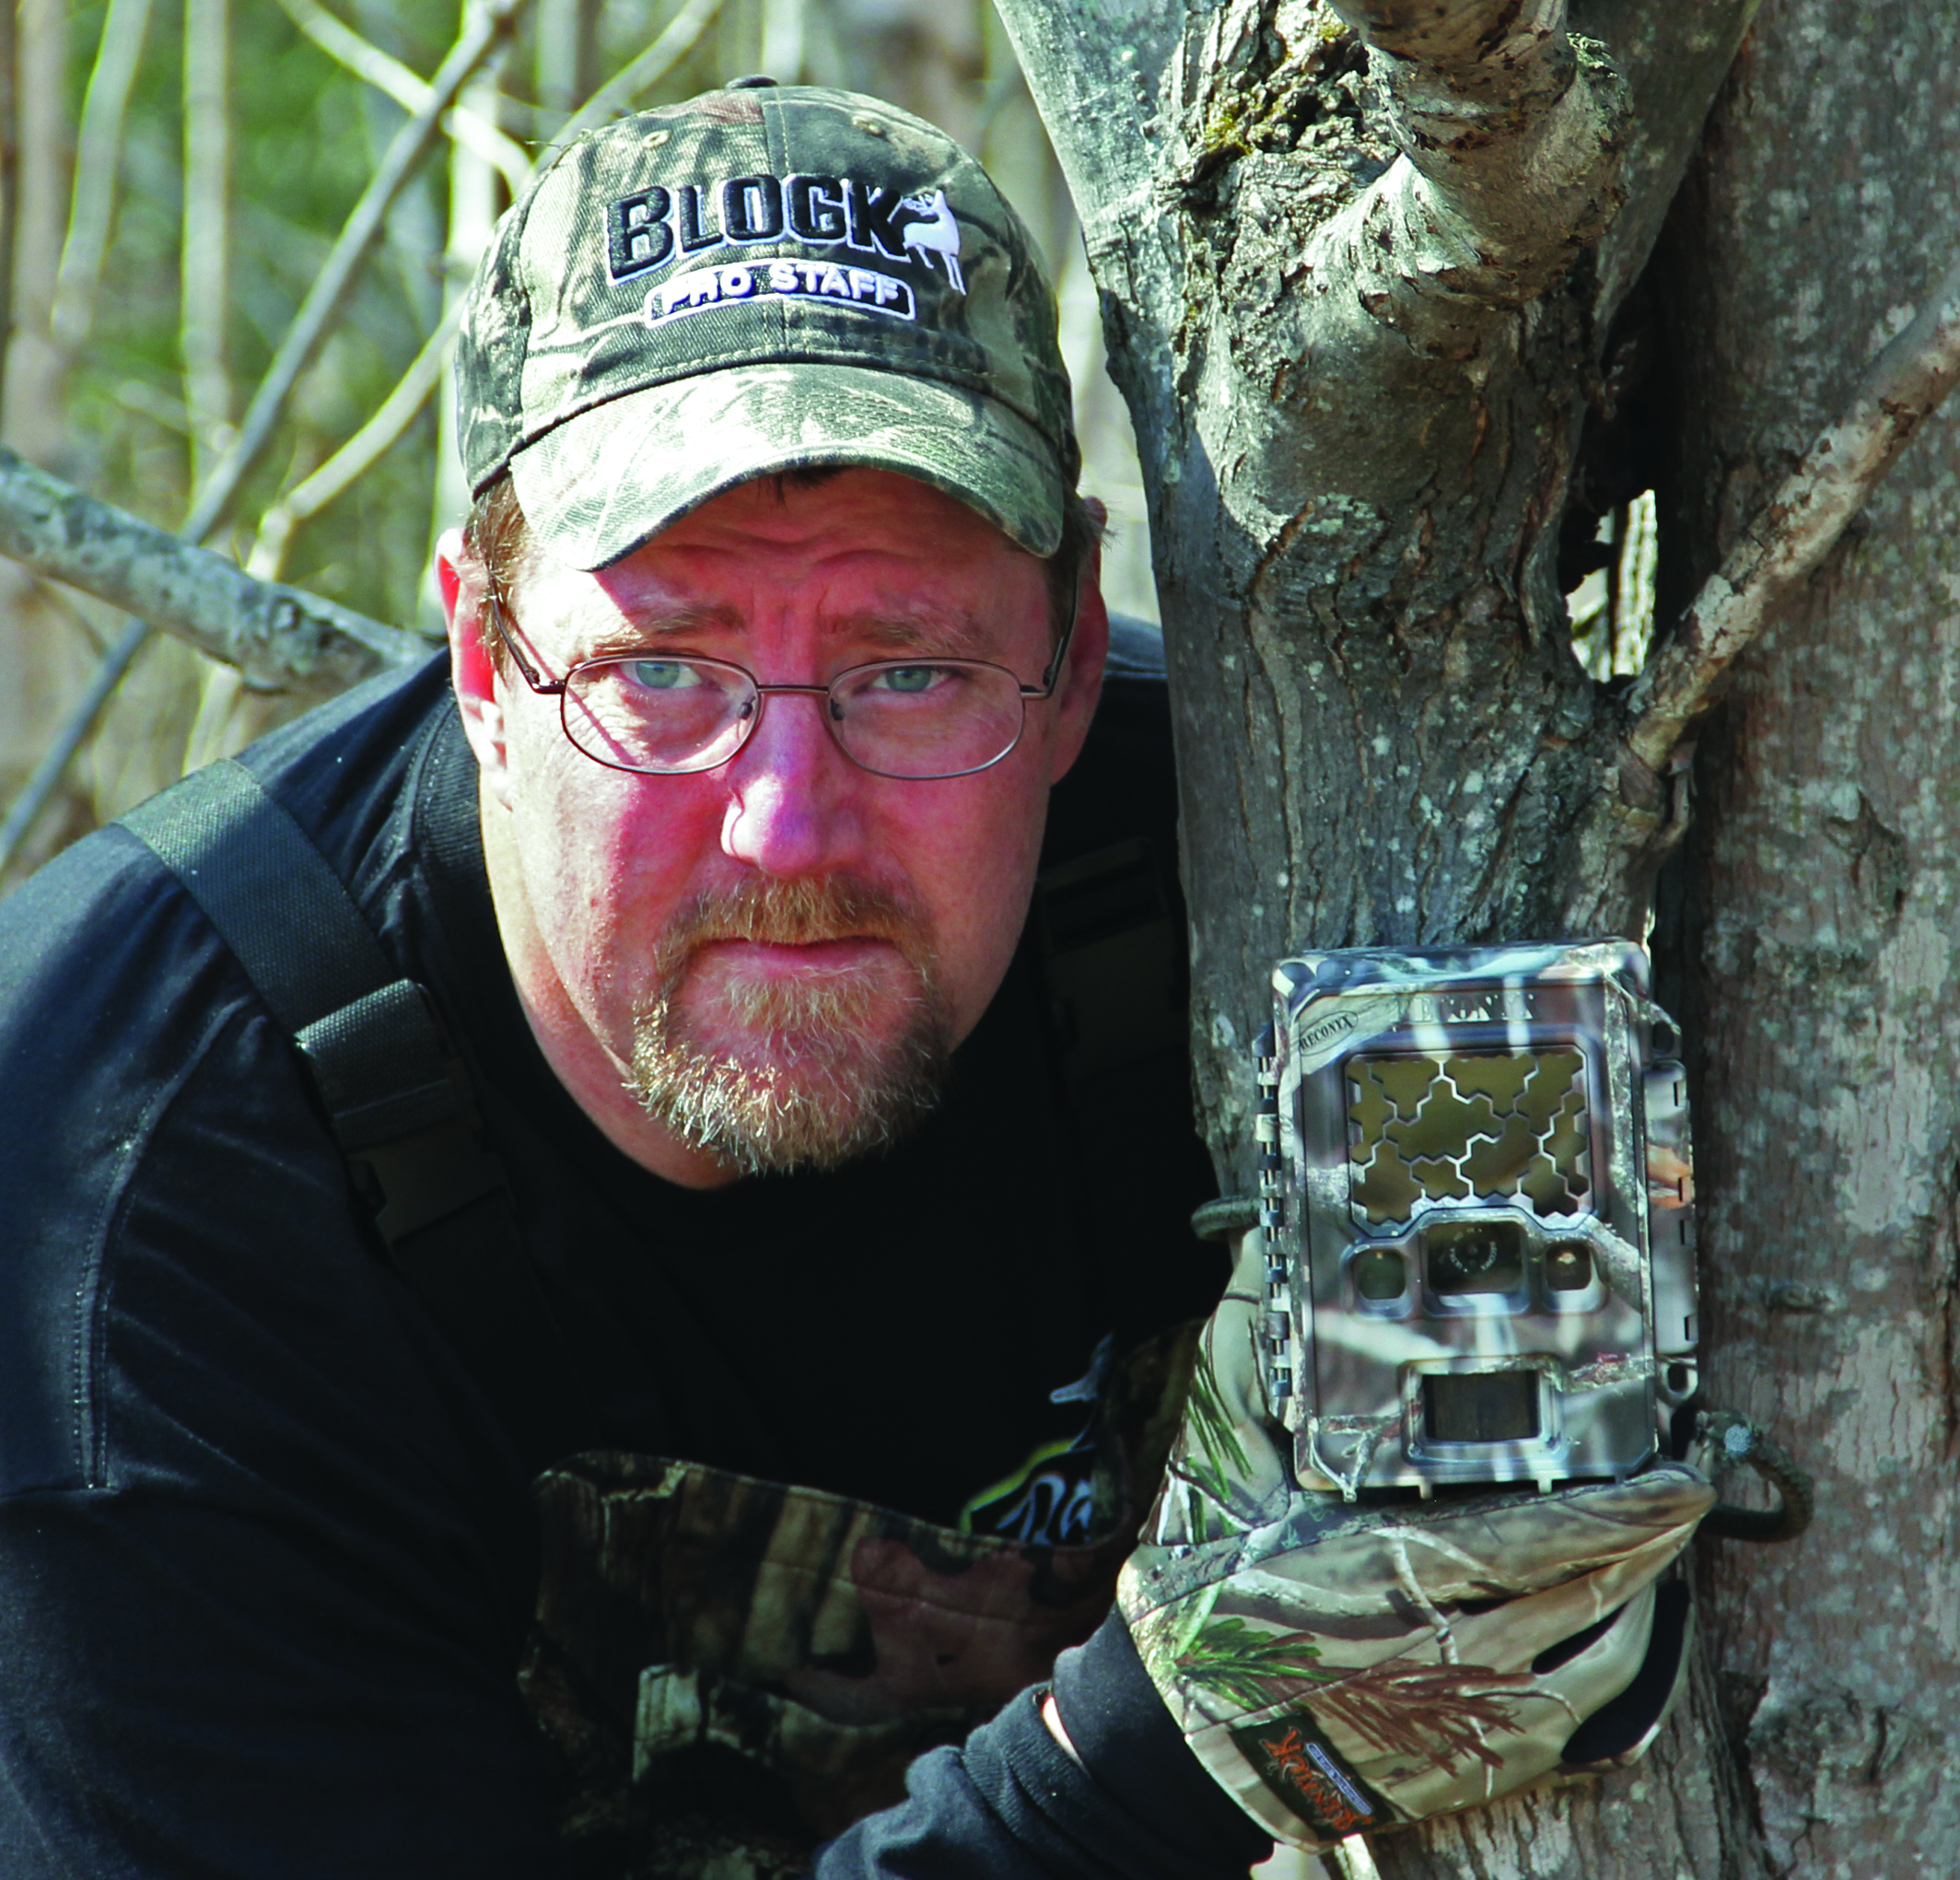
 The first step in testing scouting cameras is the realization that most units have a battery save mode they transition into after a set inactivity period. This helps them extend battery life.
Last Chance Scouting Camera Blowout!
Most also react at least somewhat different when coming out of battery saving mode than when they are already “awake.” Because of that, all tests should be done after the unit has went into save mode.
The first thing to test is the noise factor. In a quiet area, simply turn the camera on and walk away. Later, approach from an angle that will allow you to get real close before triggering and listen for noise. If you can hear it, you are best served to think about this when placing the unit.
Next, repeat the process in the dark. Again, test the unit for noise and if it produces any kind of a visible flash. Granted, the flash won’t scare most deer, but if it spooks the one you want to arrow, it can be extremely frustrating.
Finally, attach it to a tree in the yard, allow it to shift to battery save mode and then walk by at five yards. Again, allow it to shift into battery saver mode and walk by at 10 yards. Keep doing this until you determine the camera’s effective range.
 After that’s done, wait until dark and walk past at max range. Inspecting the picture will tell you if deer will be visible at its max triggering range in the dark. Many cameras trigger further than their flash produces viewable images. If that’s the case, keep moving in until you find the range that produces an acceptable picture.
Along with range, these tests also reveal what kind of trigger speed your camera offers. Since many units take longer to trigger when coming from battery save mode, that’s another reason why it’s important allow them to “sleep” before initiating these tests.
If when walking at a comfortable pace, the camera fires when you are either entering or centered, you are generally OK. On the flip side, if you’re leaving the frame before it fires, the unit will have to be setup to angle down trails in order to capture moving deer.
Finally, it takes some playing around to get a feel to set elevated cameras for good pictures. Again, test this out at home before heading for the deer woods.
All these tests might seem silly and time consuming, but not all scouting cameras are created equally. Putting them through their paces reveals defective cameras and determines if they must be elevated, along with being set to single-shot mode. It also provides a good feel for their limitations. Add all of that together and you get far more deer pics and less frustration.

