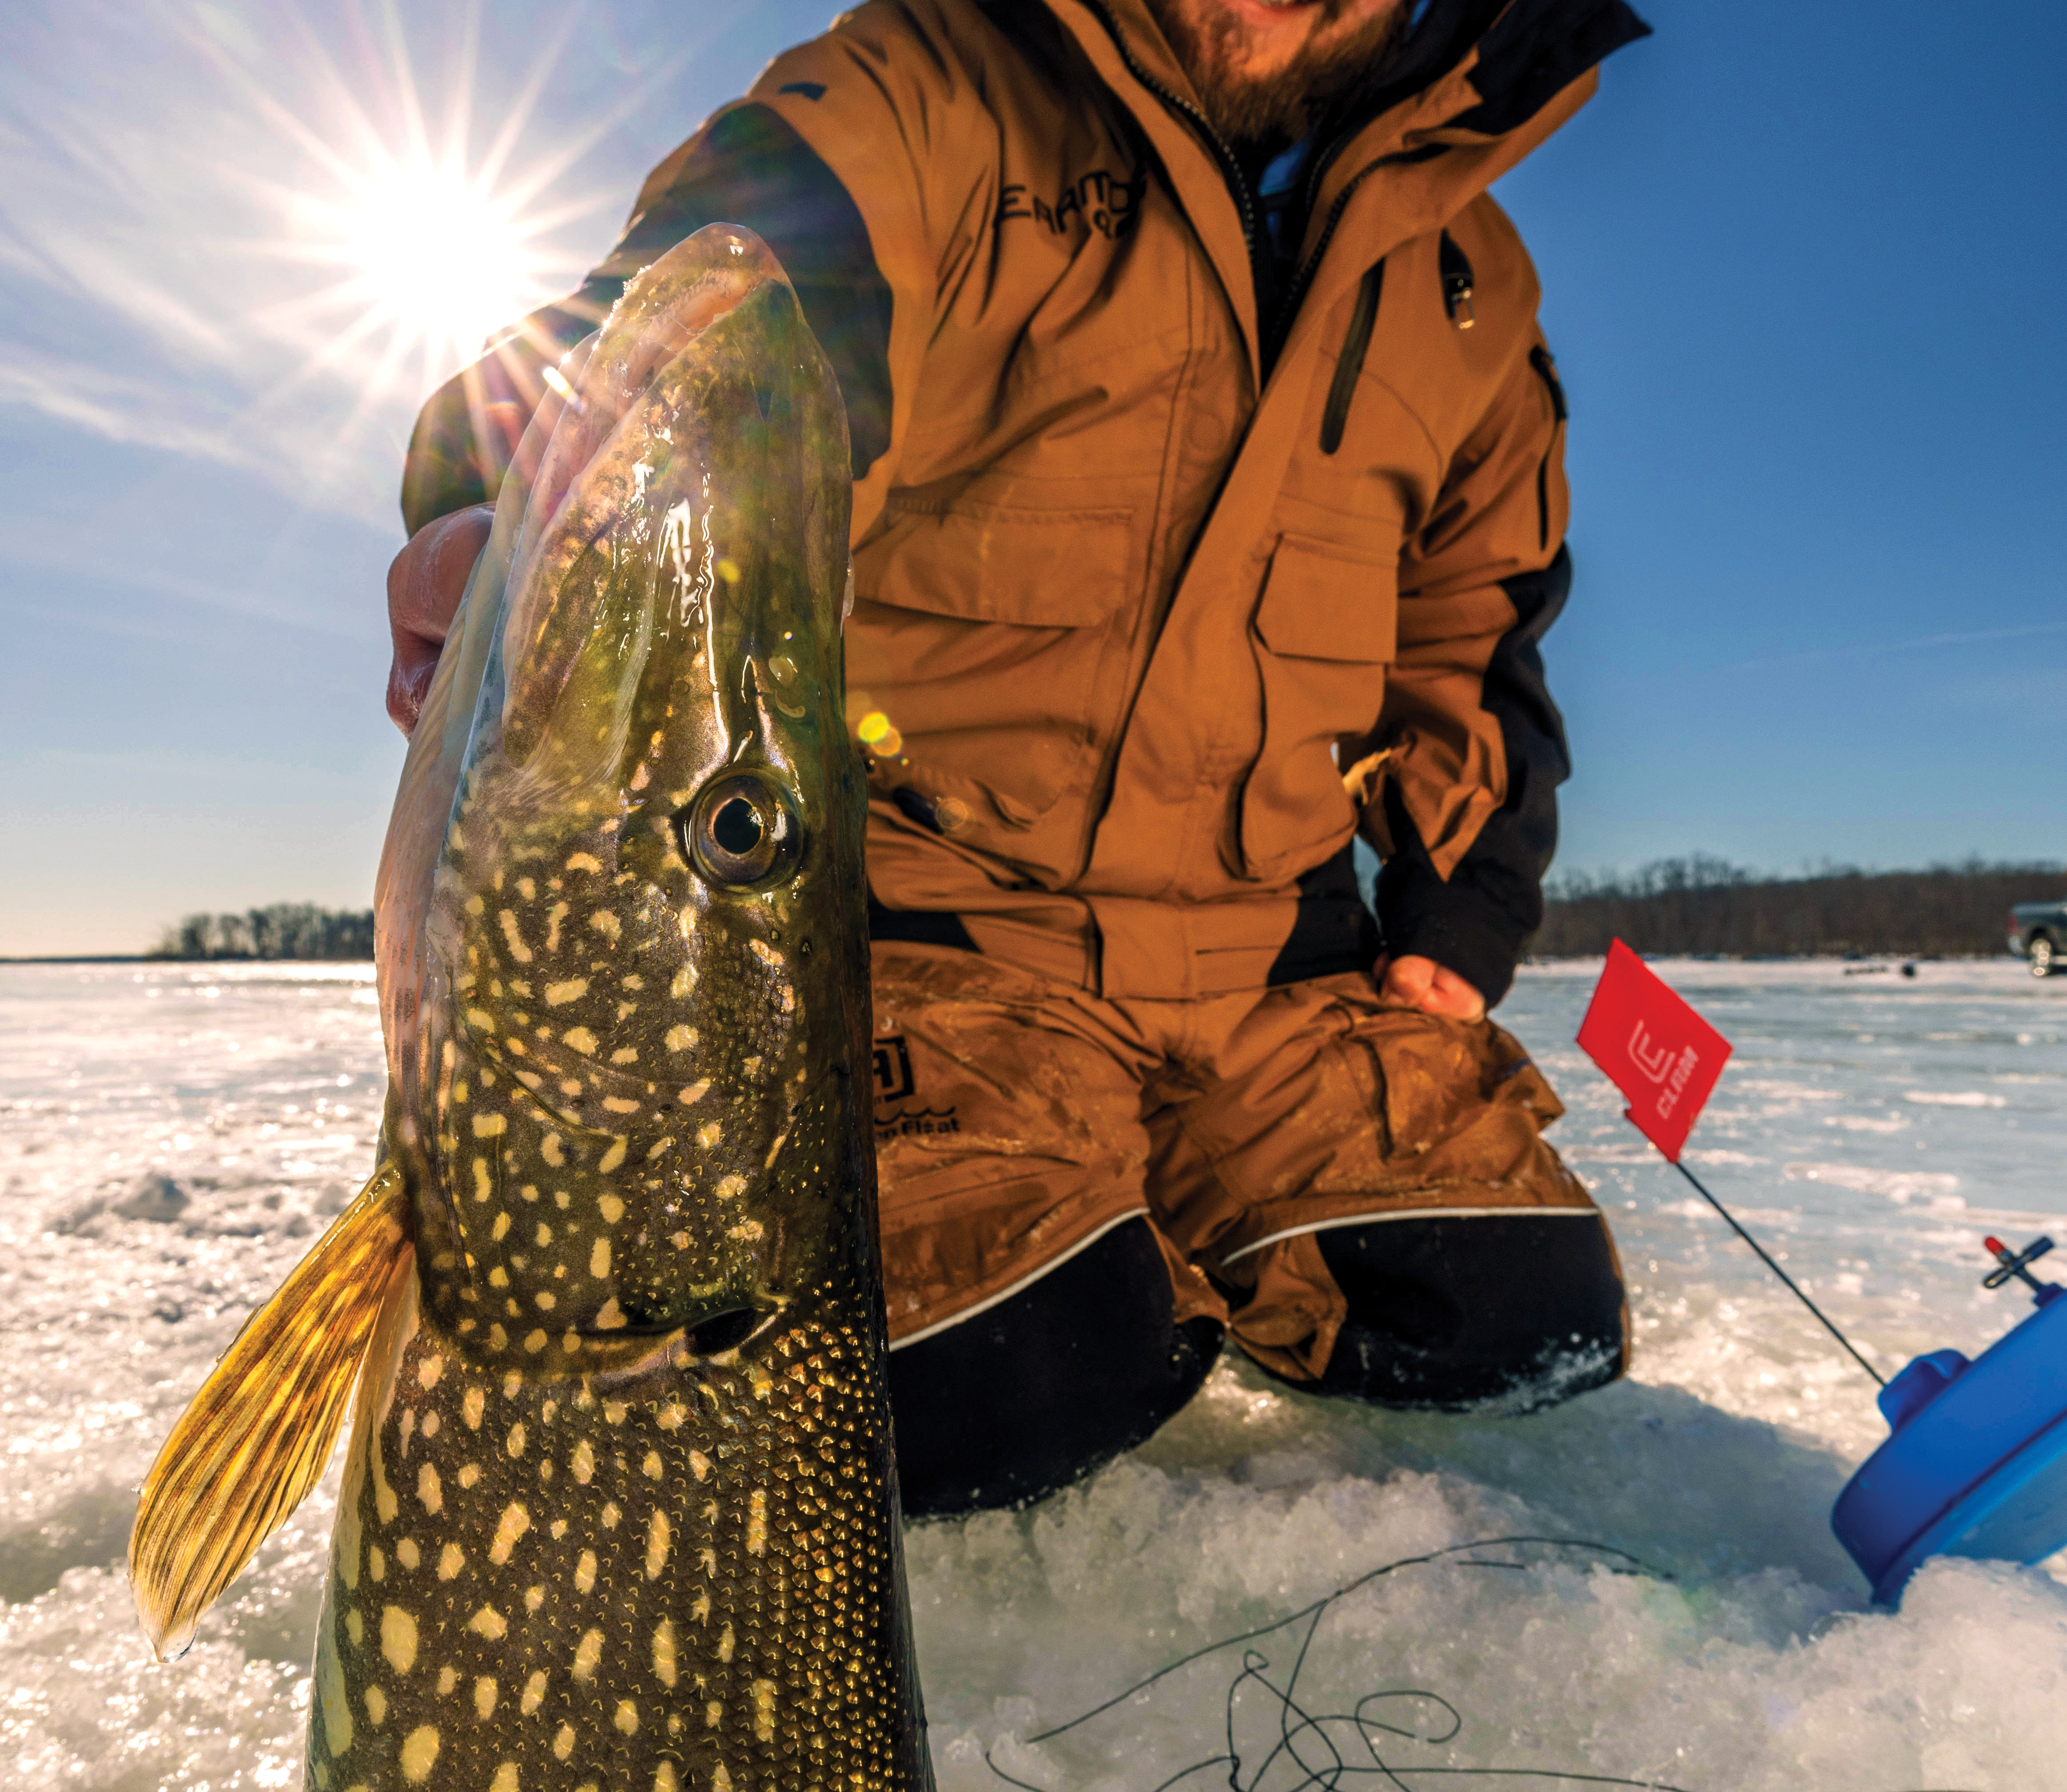
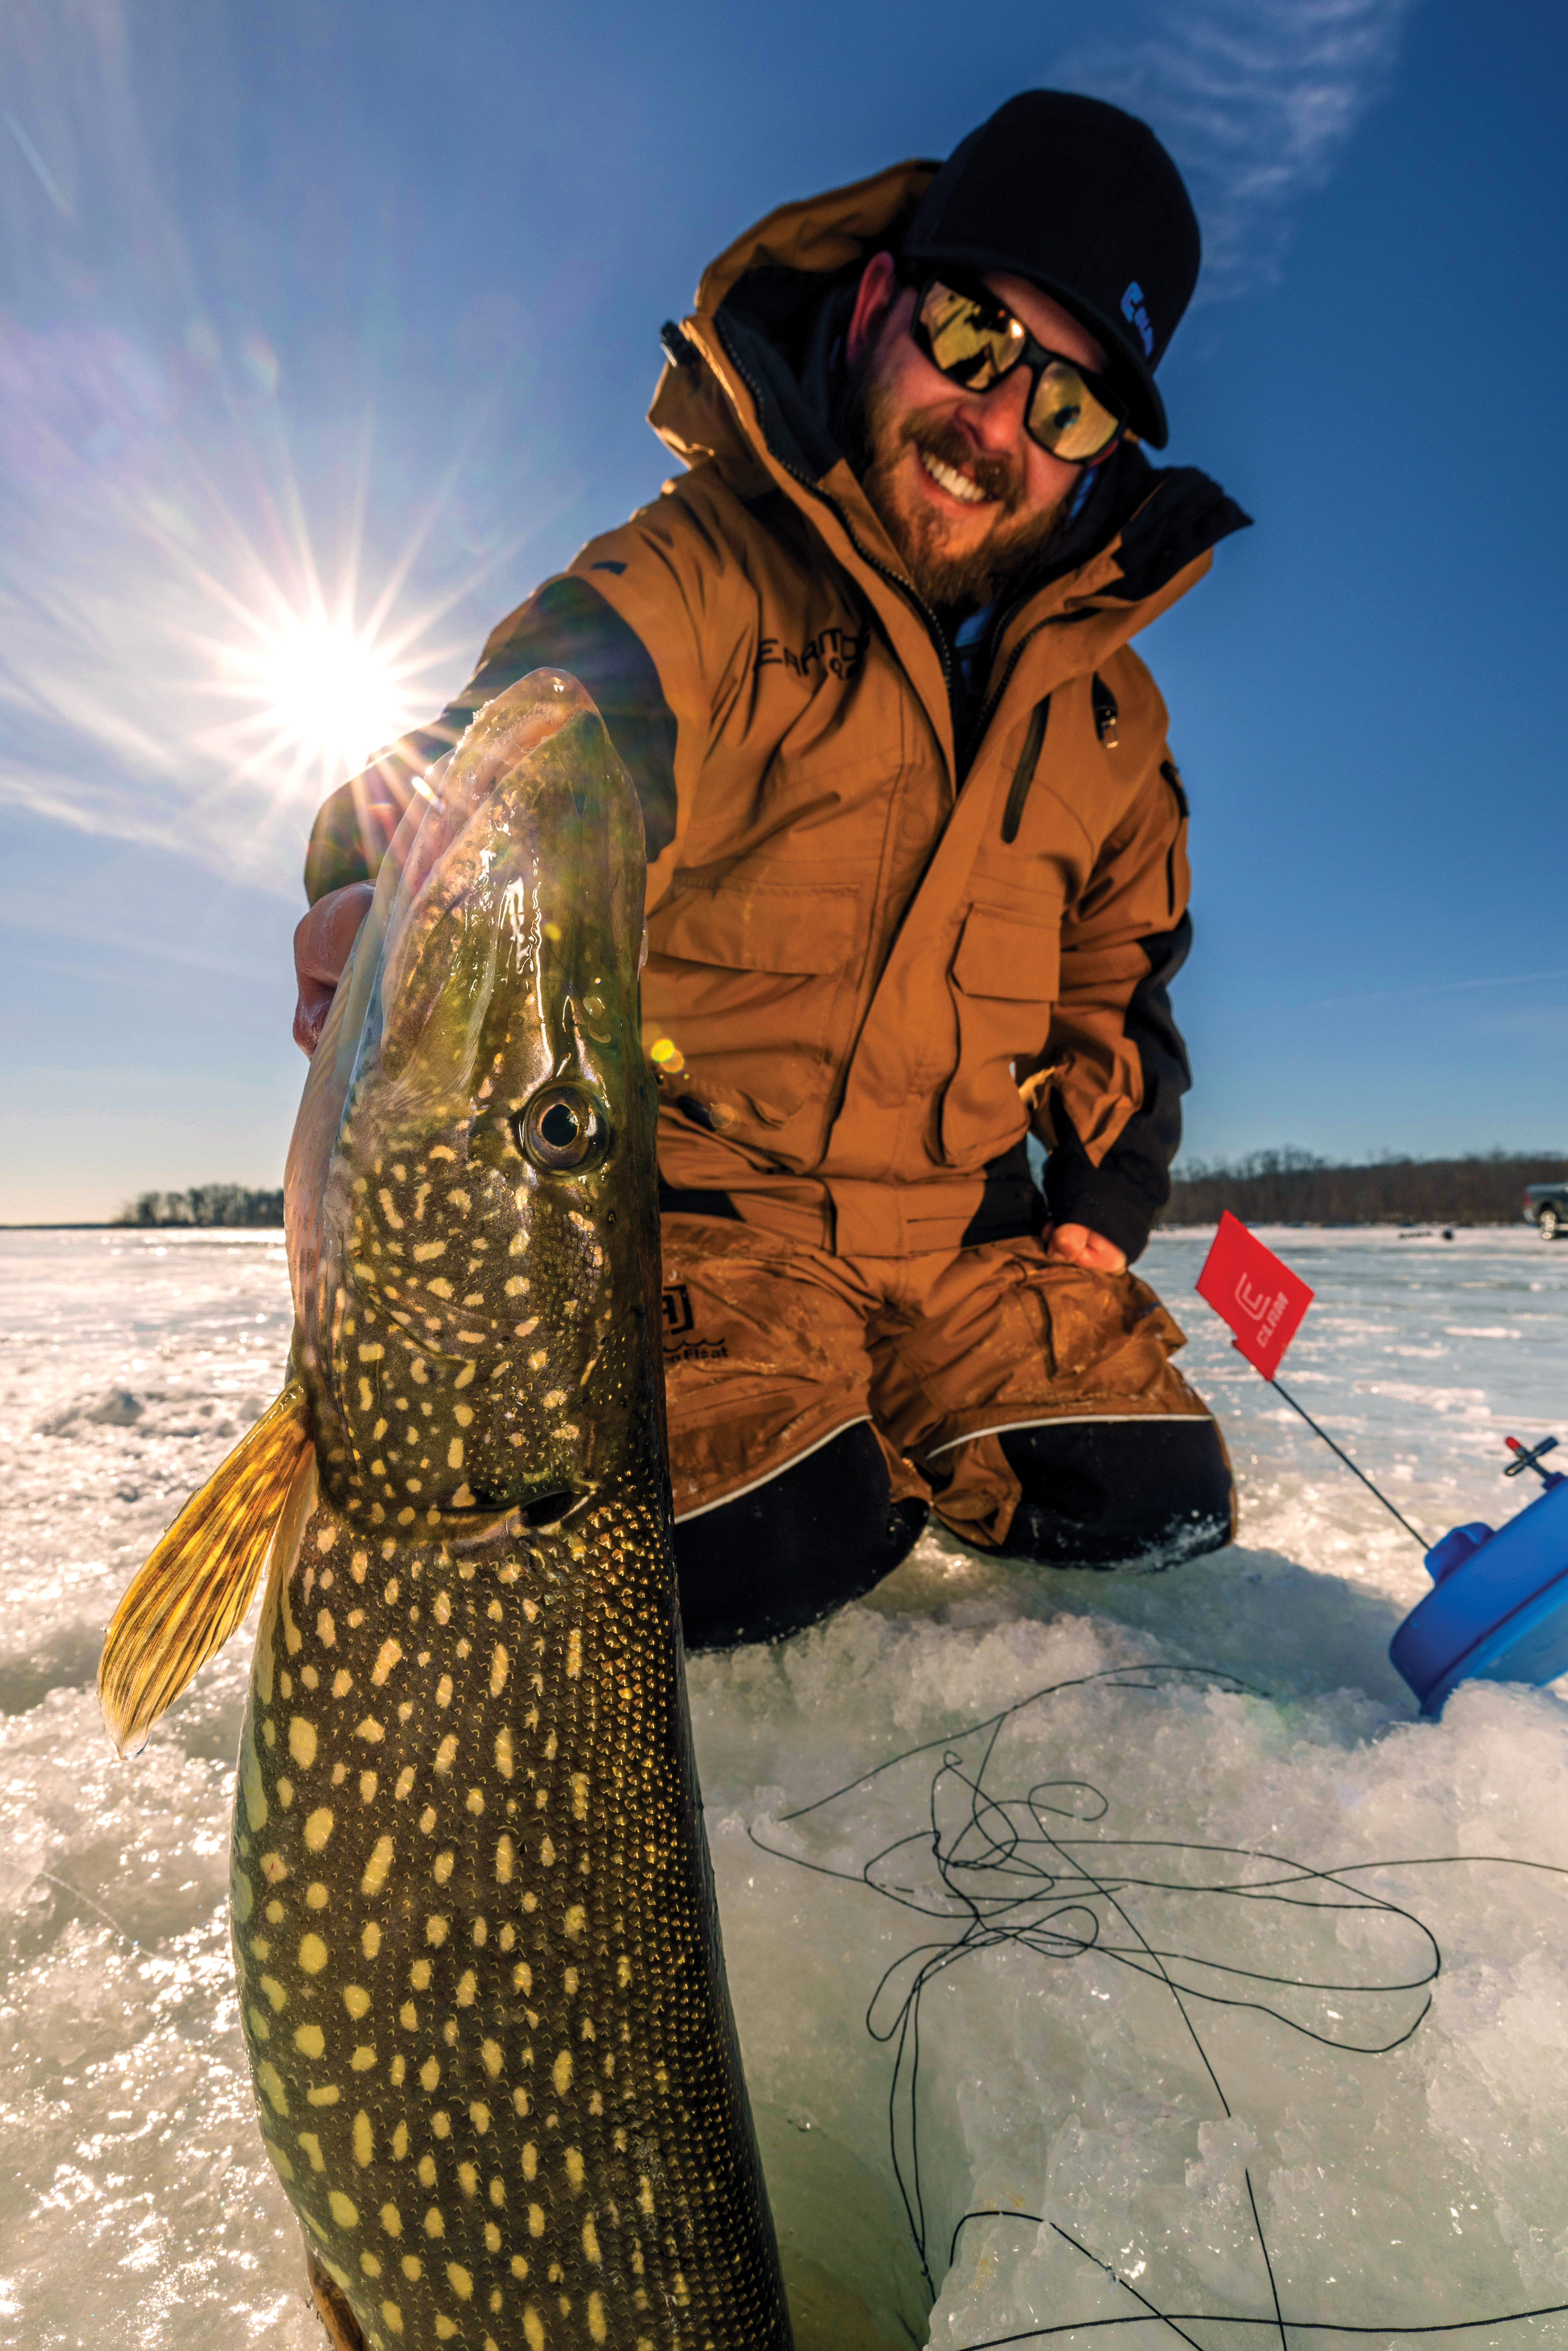
“Tip-up!”
It’s a word every ice fisherman loves to hear. A shot of adrenaline fires through you as your eyes automatically begin to search the icy horizon for that telltale sign. And then you see it — the flag flying high, proud and at attention. Your heart races, and an immediate thought runs through your head — “Pike on!”
This scenario is played out again and again every year on many iced-over winter wonderlands, and it is a thrill most people can’t get enough of.
Targeting Pike
Northern pike are one of the most aggressive species of fish you can target during daylight. With ultra-aggressive personalities, voracious appetites and long, torpedo-like bodies that can grow to more than 40 inches long, they have become one of the major predators that winter ice anglers pursue.
Many fishermen who set tip-ups for pike simply head out to their favorite lake, punch a couple of holes and set up. They have no knowledge of what lies below the surface, and there is no rhyme or reason to where they are placing the tip-ups. I call this the hurry-up-wait-and-hope system. Sometimes it’s successful, and sometimes it’s not. This does not work for me.
Being a fishing guide, I have to be productive every time I have clients on the water. I have to know that they are in the best possible location. Above all, we have to catch fish.
Running Tip-Ups
When running tip-ups, I like to put them out in several different arrangements. Be sure to check your state regulations for open season dates and the number of lines you can run. Here on Wisconsin inland waters, we can run three lines per person whether we’re using tip-ups, jig poles or anything else.
Depending on the body of water, I have quite a few different setups that work for me. I determine which I’ll use by the type of structure the lake has, the overall depth and whether I’m fishing first ice, midwinter ice or late ice.
The first thing you need to take into consideration is the type of lake or river that you are fishing and the type of structure involved. Does the lake have weeds? Is it rocky? Does it have a rubble bottom or a lot of sand? Does the body of water have a deep basin, or is it shallow? There are a lot of things to consider.
Generally, when ice fishing for pike, I like to check a map of the lake or use mapping on my handheld GPS to get a better idea of what I have to work with. I like to locate and find the weed beds, rock bars and drop-offs, along with other structural areas that I might deem suitable for pike. When searching for possible locations, handheld GPS systems can be invaluable.
Check the Calendar
You should also consider the calendar when choosing which lake locations to target for northern pike. The ice fishing season can be split into three parts — early ice, midwinter ice and late ice.
First ice in Wisconsin typically starts in late November to early December and runs up to about Jan. 1. During that time, I like to target areas with green weeds.
After the first of the year, even though green weed areas are usually still producing, I start targeting those midrange fish that are working the sharp breaking shorelines and rocky ledges. These fish have been run out of the weedy areas because of pressure or are what I call traveling suspended fish, which live their lives holding over deep water and deep structure. This deeper water pattern will hold true until the end of the ice fishing season.
You can target the shallow backwater areas off of main river systems all winter. This pattern targets fish that have moved out of heavy current areas to try to preserve energy during the winter. These fish have moved as far from the river channel as possible into very shallow water that you might think couldn’t possibly hold fish.

Don’t let the shallow depth scare you off. I have actually had guys try to set up in the same areas I’m fishing before quickly leaving after drilling holes and seeing mud come up. The water was 1 to 3 feet deep, but they saw the mud and gave up, even after seeing me catch multiple big fish. This pattern is good all winter, but it really comes into its own very late in the season and is absolutely outstanding right before the ice goes out.
Scouting Holes
After I figure out the areas I’ll target, I start drilling a series of holes to pinpoint my tip-up locations. To do this, I cut a grid-like pattern of holes to cover the entire area I plan on fishing. I drill the holes about 15 to 20 feet apart from each other. This pattern will resemble a checkerboard when I am done. Most of the time, I end up drilling more than 100 holes.
After I am done drilling, I have a system of checks and balances to determine where my tip-ups are going to go. I go to every hole I drilled and meticulously check them out. I inspect them with my flasher unit or sometimes by lying on the ice and looking down the hole. I look for depth, exact weed edges, open pockets in the weeds and the height of the weeds. Make sure you know exactly how high the weeds are. There is nothing worse than burying your bait in weeds and rendering it useless.
After I do all of my prep work, I use the information to mentally picture exactly what I am dealing with below the ice to figure out a game plan.
When it comes to setting tip-ups in weed beds, there are a couple of things to consider. First, you want to cover as much area as possible. Northern pike are nomadic roamers, and they will cover a lot of area searching for food during the day.
Second, you want to take advantage of the pinpoint locations you found doing your preliminary scouting. After I have those specific locations figured out, I will almost always set a tip-up in an open pocket in the weeds. Open pockets in weed beds are honey holes for pike. I then go with a couple of tip-ups along the outside weed edges. I set them off distinct points and in pockets. These are primary ambush points for hungry northern pike.
When setting my tip-ups in weed beds, I also like to set them quite a distance apart from each other to take advantage of the entire area, so I am not limiting myself to a small percentage of the weed bed. You might find out that even though an area might look good, the fish could be schooled up or holding in a different part of a particular weed bed. If your tip-ups are in one location, you could be missing out on some of the best fishing the lake has to offer.
When setting tip-ups along contour breaks and drop-offs, I like to run my tip-ups in a couple of different ways. Most of the time, I want to cover a lot of distance to take advantage of a large area, but in some very rare instances with very sharp break lines, I will set the tip-ups close to each other.
For deep, breaking shorelines with rock, I like to run my tip-ups in a straight line heading out from shore and into deeper water. I generally start with the closest tip-up to shore in about 3 feet of water and then run the rest of the tip-ups in a straight line out and about 30 to 50 feet apart from each other. This allows me to get the attention of fish swimming parallel to the shoreline. I start by drilling a series of holes out from shore toward deeper water. After the holes are drilled, I go back and check my depths and mark specific holes that are on the edges of the sharpest drop-offs. I start with these holes so I can take advantage of fish running what I believe are travel routes.

When it comes to ice fishing shorelines with sand, I like to run my tip-ups parallel to the shoreline in a zigzag pattern with the tip-ups set in depths between 4 and 10 feet. I set the tip-ups parallel to the shoreline and cover a lot of distance between tip-ups, sometimes more than 200 feet. This allows me to maximize my coverage as the fish swim up and down the shoreline looking for prey.
In shallow backwater areas off of river systems, I generally look for the farthest fishable water from any current. This might only be 1 to 3 feet deep, but trust me, that is plenty of water to hold winter pike. When setting up in these types of areas, I normally look for any visible structure like stumps or shallow points that might jut off of the shoreline. These stumps and points are areas that will be used by the pike as pinch points and obstacles in their travel routes as they move from location to location. The structure will force the pike to go through precise areas that make for key tip-up locations.
Setting Tip-Ups
With my specific locations determined, I start setting tip-ups. Depending on the depth, my rule of thumb is to always keep the bait as high as possible depending on the setting. Northern pike are always looking up, and bait that is set below them will be unseen and untouched.
In water less than 5 feet deep, I generally run my bait 6 inches to 1 foot below the bottom of the ice. In water more than 5 feet deep, I run my bait about 18 to 36 inches off of the bottom. If there are weeds in the hole, I run the bait about 1 foot above the weeds. You always want to make sure to keep the bait high enough to keep it from tangling up and hiding in any weeds.
I like to run my tip-ups spooled with 45-pound Cortland Master Braid line. It is strong, fills the spool nicely and has a little stretch to help out when battling a big pike in tight quarters. Attached to the fighting end of the Master Braid, I generally run a 14-pound fluorocarbon leader that is 18 to 36 inches long. I don’t ever run a steel leader. Most bodies of water I fish have walleyes, and the steel leader will spook them away. I consider catching a walleye on a pike setup a bonus and always a lot of fun.
I tie the fluorocarbon leader onto the Master Braid with a blood knot. The leader length is determined by water clarity. I use a longer leader if the water is clear to avoid spooking fish. This is really important when walleye fishing. For a hook, I run a #8 VMC treble hook, usually in red for added color.
For bait when tip-up fishing for northern pike, I generally like to run one of three baits — large golden shiners, medium suckers or dead smelt. Each one has a purpose, but the main reason for selecting a particular type of bait is matching the forage base in the lake that I am fishing. On some lakes, you will find that suckers outproduce shiners, and on other lakes, the shiners are the only bait the fish will touch. The smelt really come into their own late in the season, especially in shallow backwater areas off of river systems.
When rigging live bait on the hook, I normally run one of the trebles of the hook directly under the skin of the minnow and right behind the dorsal fin on its back. This will ensure the bait remains upright and that the hook is in the middle of the bait, allowing for a good hook when struck. At times, when the bite is slow, I like to clip the lower half of the minnow’s tail fin. This will keep the bait livelier as it has to struggle to keep itself upright.
For smelt, there are a lot of different ways for rigging, but I normally like to take a small piece of 16- or 18-gauge wire and run it through the entire length of the smelt right under the back. Then I hook my treble hook under the wire at a point that will allow the smelt to hold perfectly horizontal when set in the water. You should also pop the air bladder in the stomach cavity. You can do this by simply opening up a small hole in the stomach and popping the air bladder with any sharp object or by pinching it in your fingers. If you do not pop the air bladder, the smelt will float upright and will not look authentic to northern pike. Smelt can be suspended at different depths or dropped down on the bottom.
With your homework done and your tip-ups set at precise locations, the fun begins. It’s time to sit back and wait for the flags to fly.
Punch Holes
In the end, the ice anglers who put in the most work usually come out ahead. I have a saying I go by that tends to hold true: “The one who drills the most holes wins.” When I am on the ice, I like to completely exhaust my options. I drill out every inch of an area so that when I set up, whether I’m jigging or running tip-ups, I know that I’m in the best possible locations on the lake to get the results that I am looking for.
