The first time I butchered my own deer, it was more by necessity than choice. As a poor college kid, the $35 or $40 it took to pay a local butcher to do the job back then seemed pretty steep, and represented an awful lot of beer money.
My brother Chuck was in the same boat — maybe in even deeper water than me, because he had a wife and young kid to take care of. Dollars were even shorter in his world. So there we stood in Dad’s garage with two yearling 7-pointers hanging from the rafters and a motley array of knives, hacksaws and other sundry tools, butcher paper, and our grandma’s old hand-cranked meat grinder from Bohemia, in front of us.
Eight hours later, we had every stitch of meat off those deer, and we collapsed, exhausted, in Mom’s kitchen. Somehow we got the job done and had a half-year’s worth of random but wholesome venison cuts packaged up and ready to freeze.
These days, when people ask me if they should butcher their own deer, I help them find their own answer by walking through the following 12 questions. The responses you give will help you decide if home butchering is for you, and know if you’re prepared with the right tools, materials and approaches to get the job done right.
1) What are your goals, and why do you want to butcher your own deer?
To start, it’s essential to understand the motivations behind processing your own deer. Saving money is always a good answer. But for those savings, are you ready to exchange the time it takes to do the job right? Expect to spend three hours (at the low end) to five or six hours (at the high end) taking one deer from unskinned carcass to packaged cuts and cleaning up.

Control is another factor to consider. Self-butchering lets you process your deer exactly as you want it done. You know how the meat has been treated through the entire process, and you know for sure it’s your own venison. Those are good reasons to butcher your own whitetail, too.
2) Do you have a comfortable and clean workspace to use?
I’ve processed deer outside, from skinning to final cuts, on sunny-warm October and November days. But if it’s nighttime, or the weather is inclement, you need a clean, comfortable and relatively sanitary place inside to work.
Garages, workshops and sheds are fine for butchering work, as long as you complete additional preparation such as cleaning all surfaces with a solution of half bleach and water, sweeping up, vacuuming dust, and generally tidying up and clearing out clutter and junk. Cover work surfaces with butcher paper before starting in.
3) How will you get that deer hoisted up for easy, efficient skinning?
Think about the task of getting that deer hung up by the gambrels so you can skin it. Will you need a block-and-tackle? Or do you have some friends or hunting buddies around to lift the deer way up as you pull a rope and then tie it off?
Skinning is best done on a calm and cool day outside, but you don’t want the weather to be too cold or your hands will lose dexterity. Skinning inside in a clean shed, outbuilding or garage is fine, too.
4) Do you have a sharpened knife suitable for skinning ready?
Skinning happens most efficiently when you use a tool that is well-suited to the job. A good skinning knife features a robust, protruding sweep of “belly” to the blade. That shape adds a lot of edge and contours for working skin off the deer’s flesh. A true skinning knife gets the job done better and more efficiently than any straight-edged knife.
Your skinning knife should be sharp, but not with a razor-like edge. A skinning knife that is too sharp will nick and slice through skin easily, getting hair on the meat.
On the other hand, a skinning blade with a dull edge is going to be clunky to work with. The right level of sharpness is a good edge, but one that’s a little rough or raspy (use your sharpener’s coarsest stone), and not honed down to a perfect razor edge.
5) Do you know the process for skinning a deer?
Until you’ve done the job a few times, it’s natural to fret about skinning your deer. The cure is knowing the process step-by-step. One good resource is my article, “How to Skin a Deer” in the November 2015 issue of this magazine. Efficient skinning is essential to keeping the meat clean and as hair-free as possible.
Inevitably though, you’ll end up with a few hairs on the meat. Pick them off by hand, or don’t be afraid to use a propane blow torch to singe off any extra hair. The less hair that is on the meat when you start sectioning and cutting, the better.
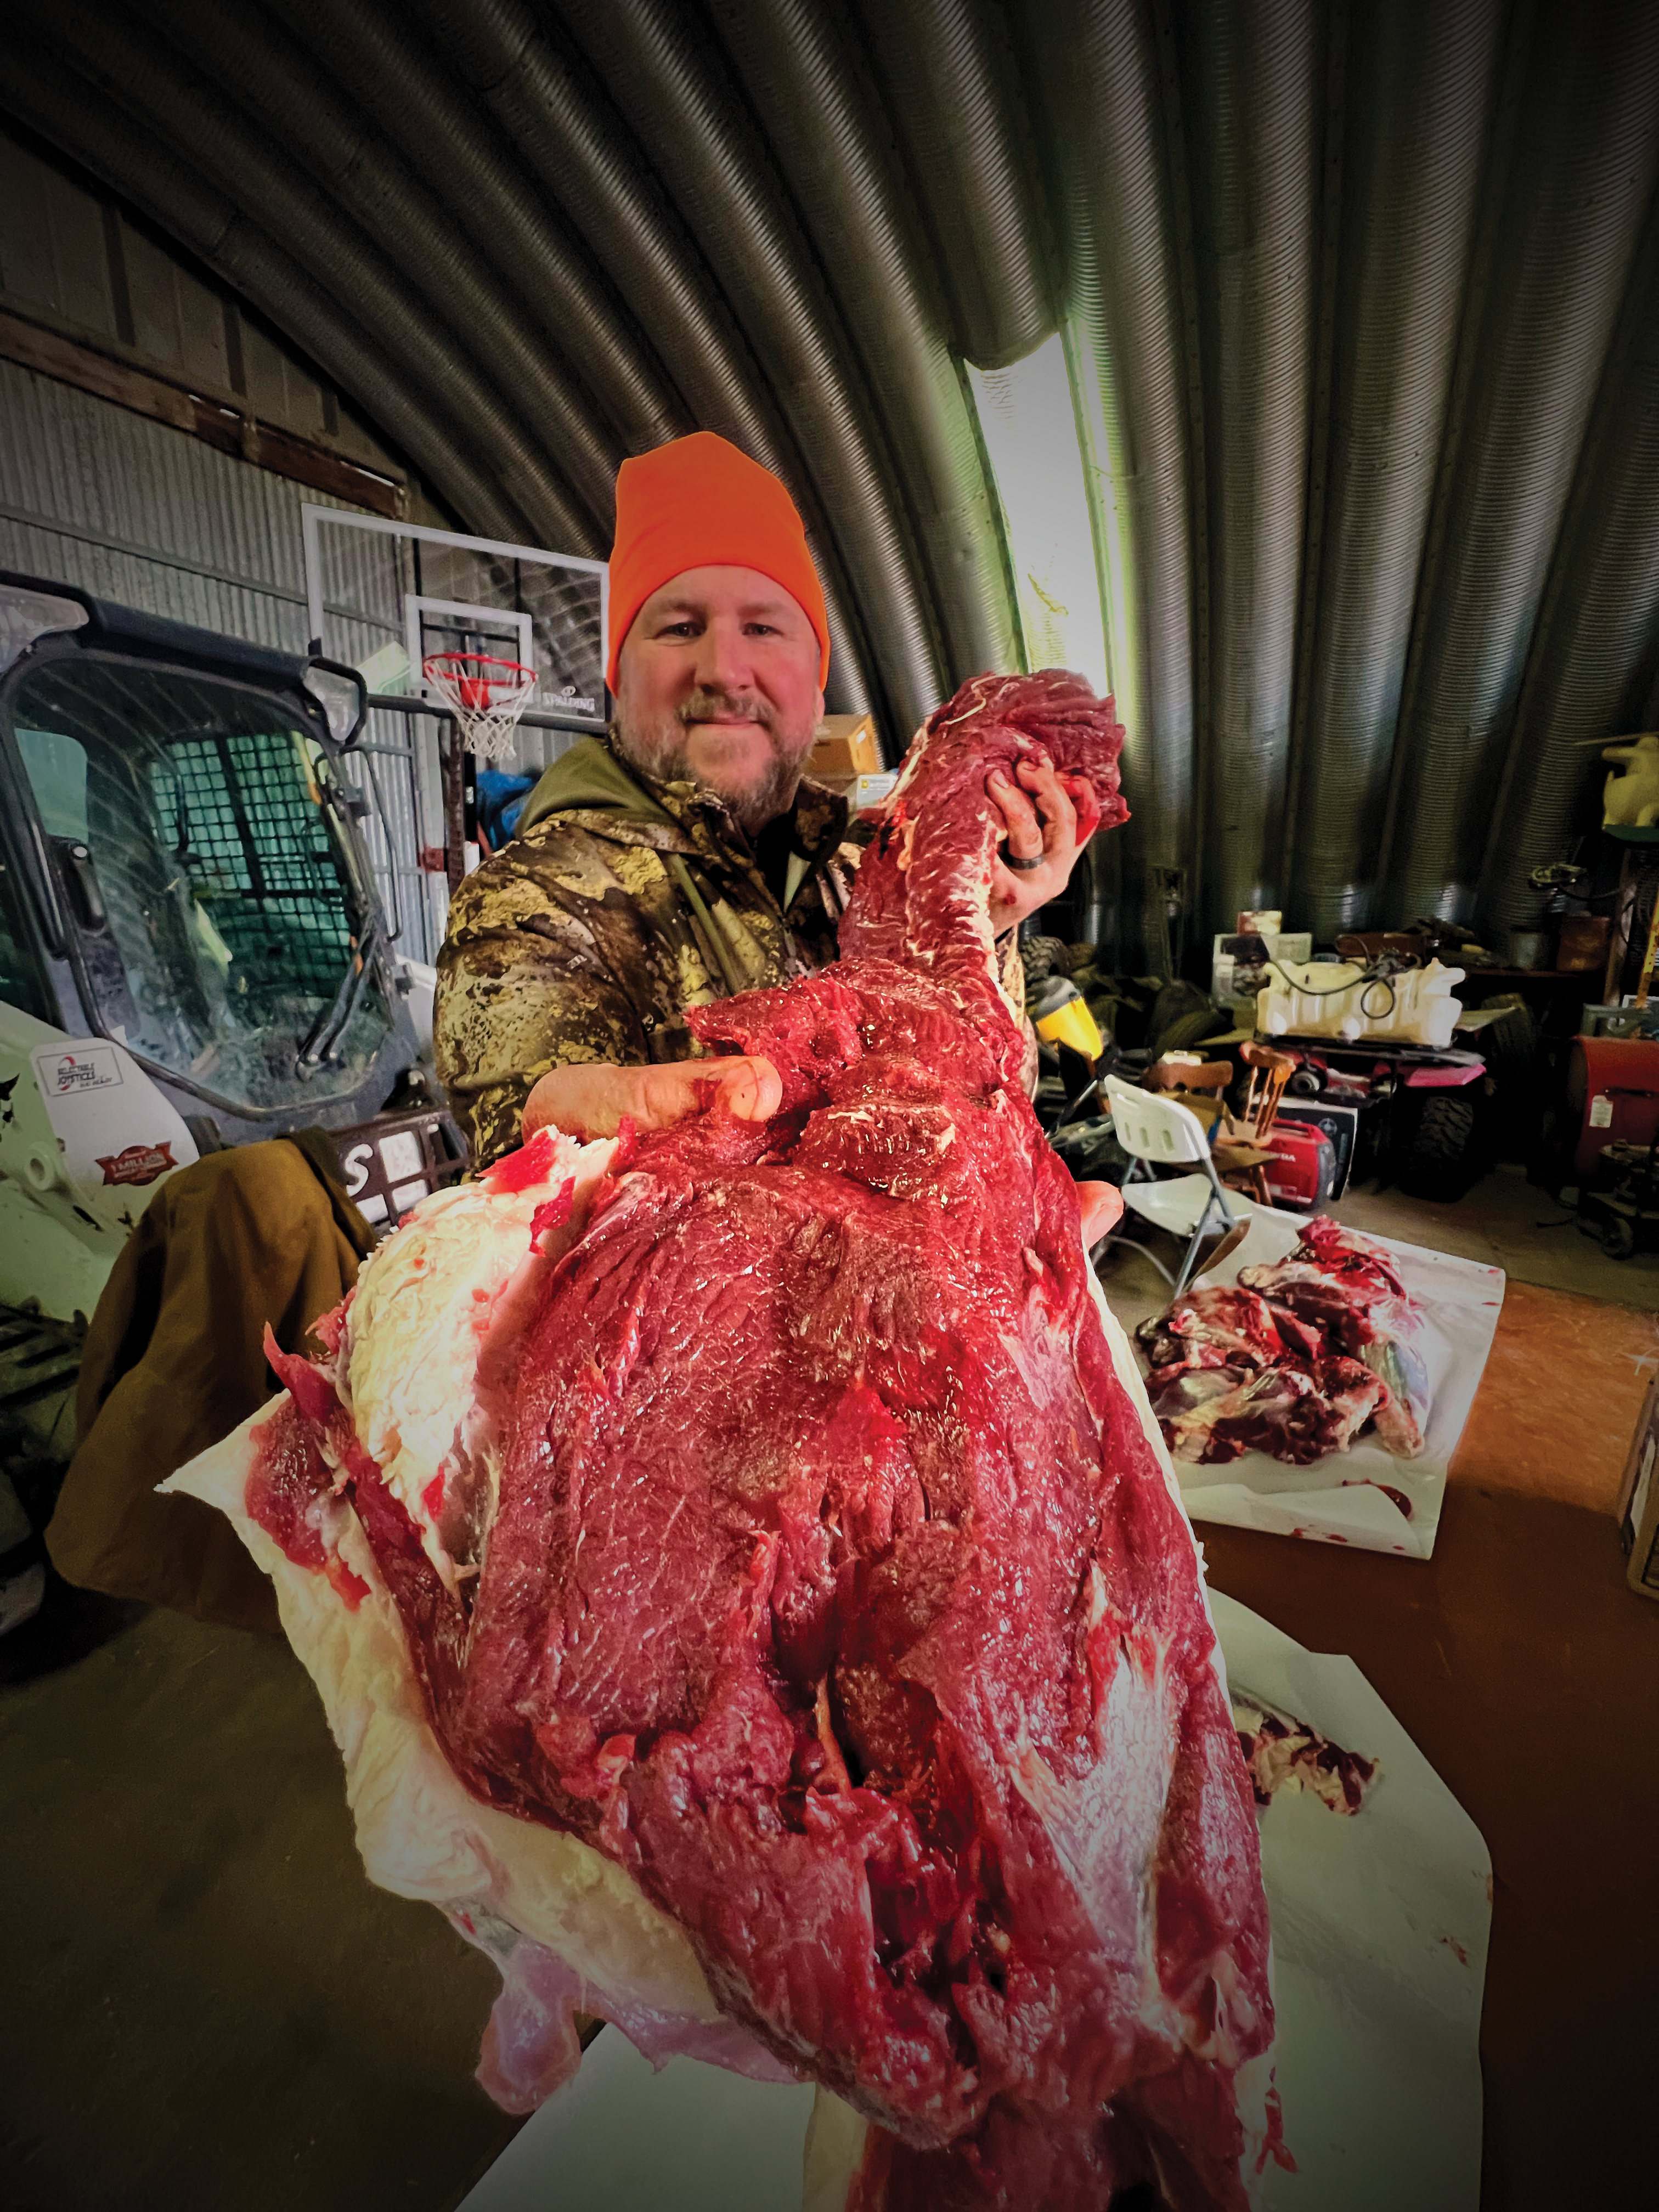
6) How are you going to section the carcass down into its nine key components and handle them?
Once the skin is off, you need to break that carcass down into smaller components. These nine parts are: two front legs, two loins (top of the back), two tenderloins, (inside along the backbone), two back legs, and the remaining rib cage/neck that’s still hanging.
Do you have someone to help as you break down the carcass? Two pairs of hands are better than one now. It’s smart to have someone else hold the front legs as you slice the ligaments and tendons to remove each one. Your helper can hold the loins away as you peel them off. And the back legs are heavy — it takes one person to separate and saw them apart, and another person to hold the result so it doesn’t drop to the floor.
7) Can you prepare and maintain a clean, sanitary work surface for breaking down those larger pieces into final cuts?
Good butchering doesn’t happen on a flimsy card table. Skimping on a good place to work can be dangerous, too, so don’t do it. Use a steady and sturdy table moved into your workspace, or clear off a workbench with plenty of elbow room. Clean the surface and cover with butcher paper as previously described.
8) Do you have a simple and sharp boning or fillet knife (or better yet, both) at hand for getting meat off bones, along with a good hacksaw or bone saw if needed?
You can probably do most of your butchering work with a small fishing fillet knife (5- to 7-inch blade) and a boning knife (blade of 5 inches or so). As opposed to your skinning knife, these tools should be as sharp as can be. More accidents happen with dull knives than with sharp ones now. Be ginger with your movements and cuts until you’ve got a feel for the sharpness level and how the knife reacts.
Keep a hacksaw or bone saw around. A hacksaw with a fresh blade will do just fine for sawing off the head after skinning the carcass, and for sawing down along one side of the spine to separate the back legs.
9) What is your plan for the final cuts you’re going to make?
It’s one thing to have the major sections of a deer off the carcass and sitting in front of you. It’s quite another thing to know what you want to do next with those “macro” pieces.
What cuts are you going to make? The options are numerous, but the bottom line is this: Know your plan before you start breaking down those sections into final cuts:
- Chops (butterfly or medallion), from loin
- Steaks from upper back leg, or top of rump
- Roasts from front shoulder or back leg
- Stew meat
10) What are you planning to do with the trim meat from your deer?
Steaks, chops, roasts and stew meat are great. But you’re going to end up with a third of your meat, or maybe more, in oddball chunks and extra pieces known as trim. Make your plan beforehand for what you are going to do with all of this important venison.
Ground venison is awesome, because you can use it in so many dishes and in so many ways. Have a good meat grinder at hand. As for other trim, cut it into chunks 1- to 2-inches square, and package it up for use later for other venison products such as those listed in the last question on our list.
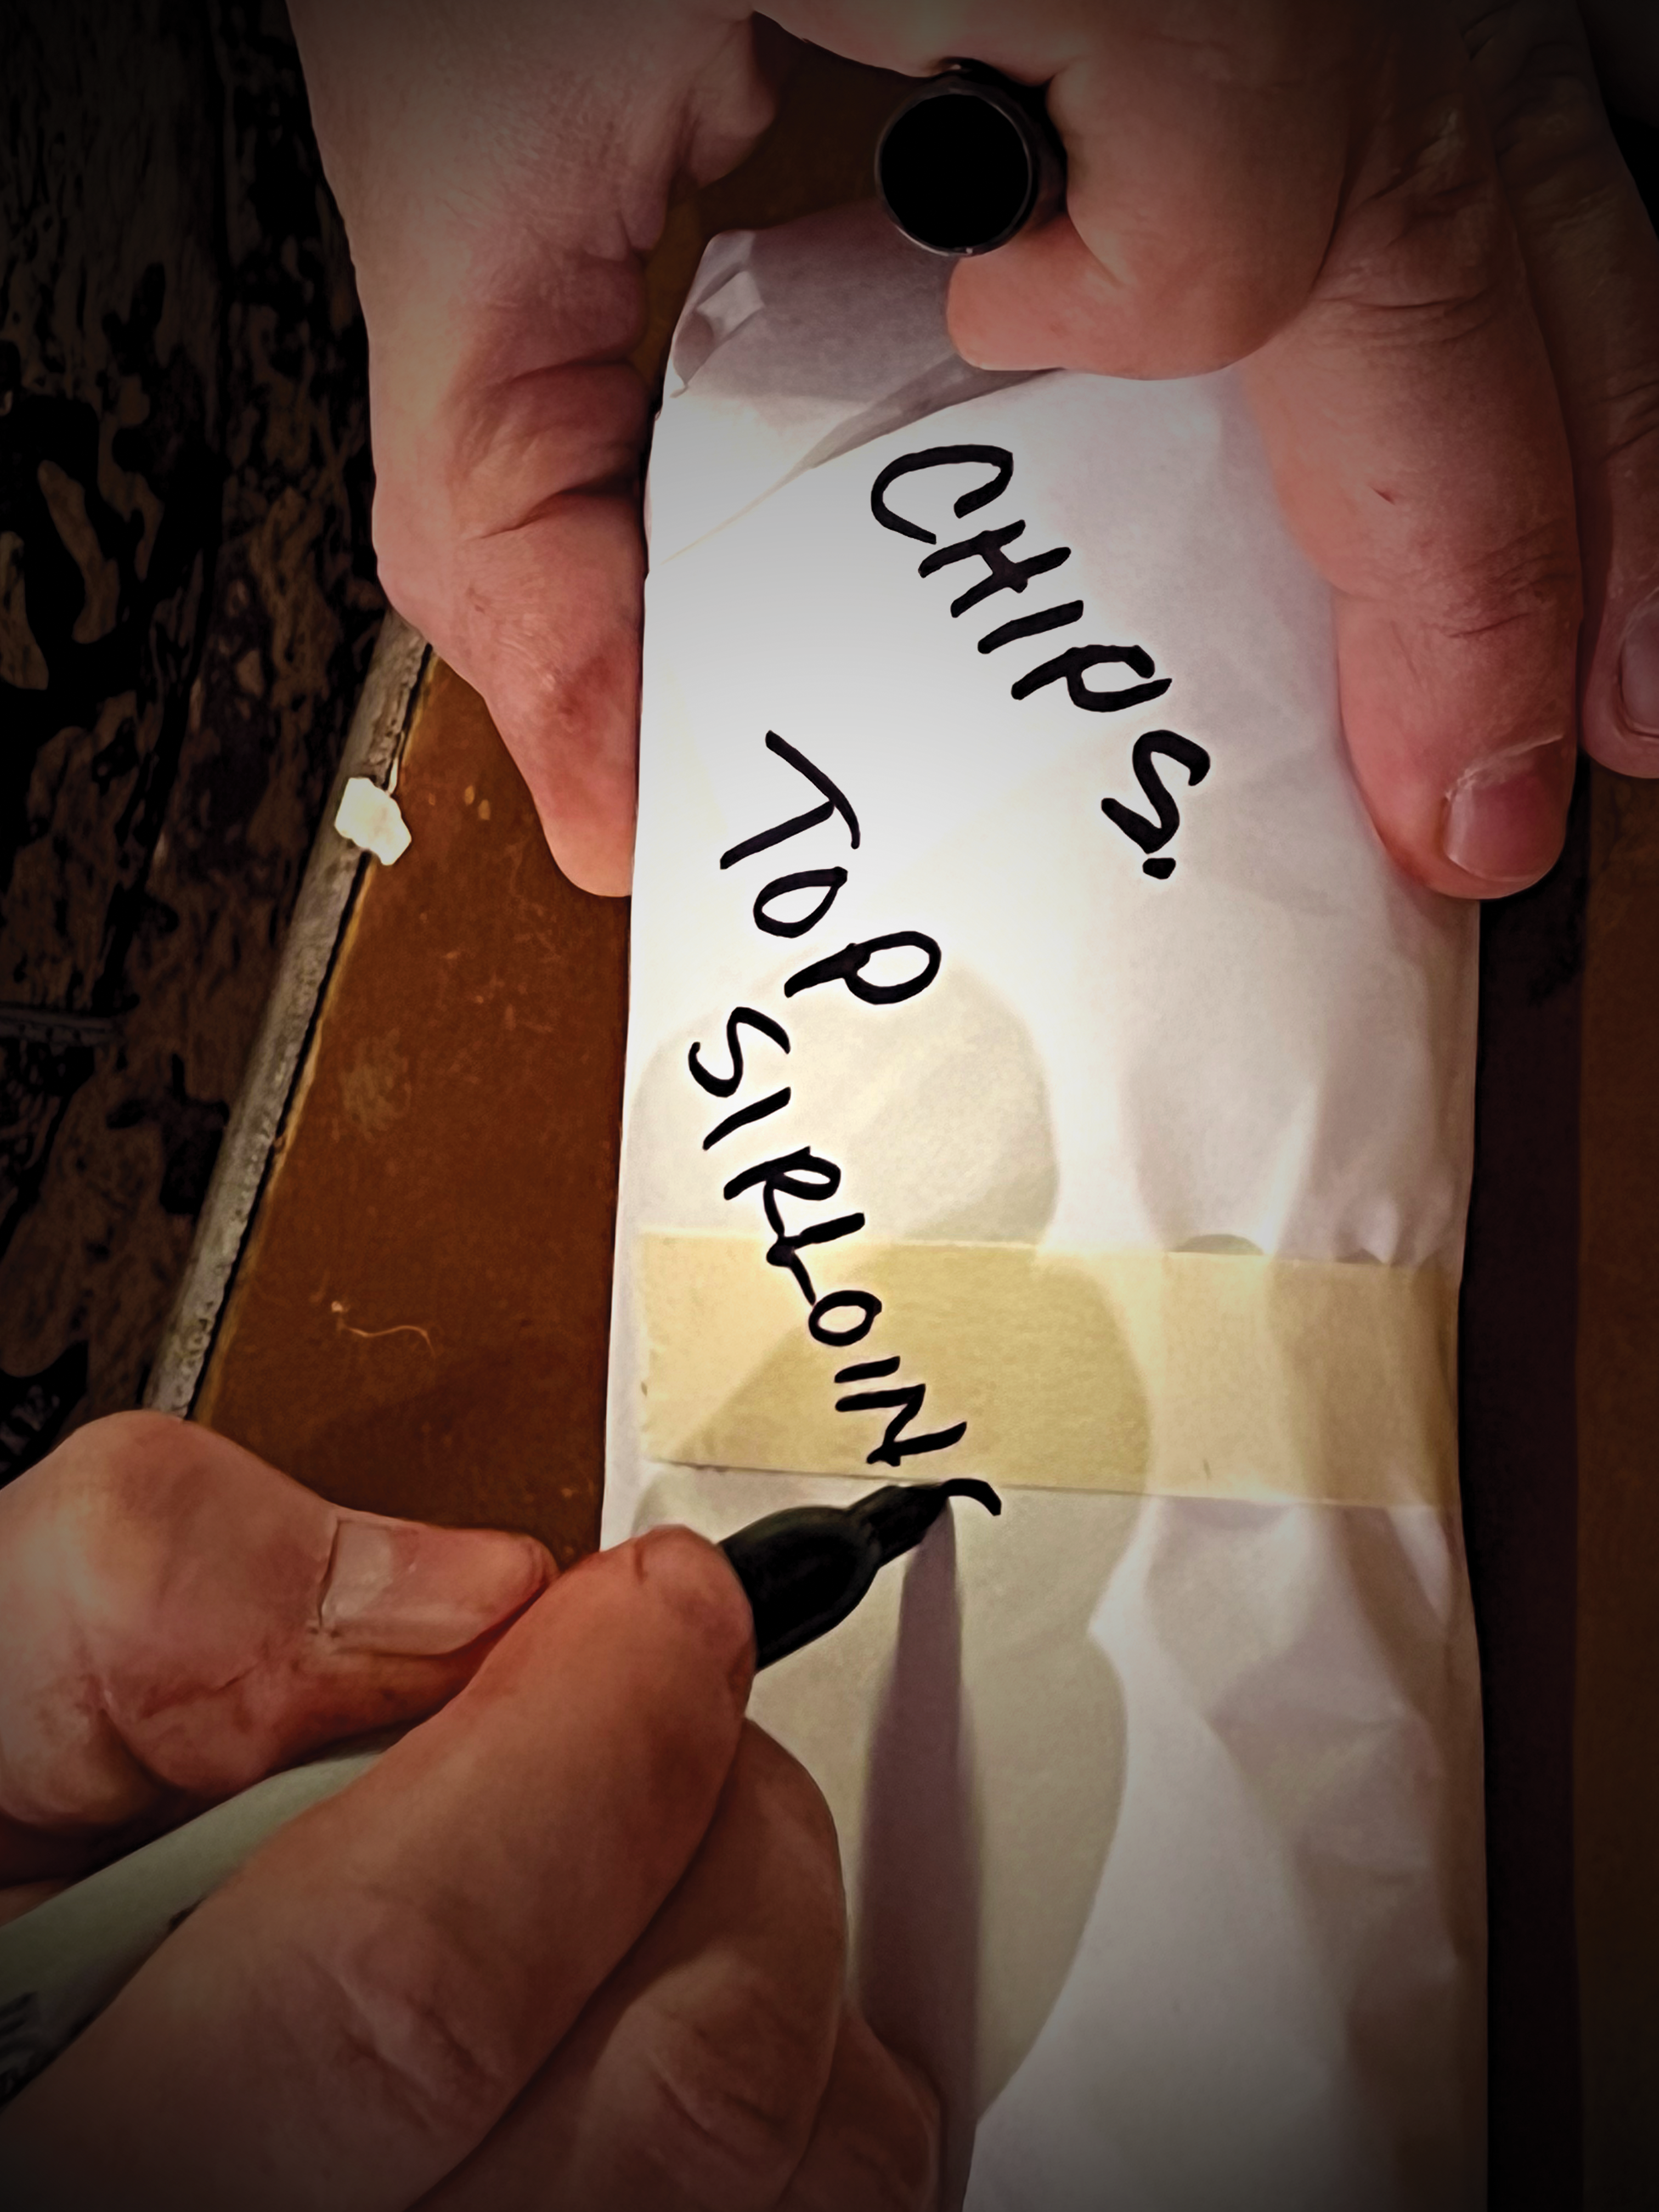
11) How are you going to package, label and freeze the meat?
Before you start cutting, line up resources for packaging and freezing your meat. Your options include plastic freezer bags, lined freezer paper and vacuum sealer units.
Air is your No. 1 enemy in the freezer, and the longer you plan to have your cuts frozen, the more damage that air can do to the meat’s texture and flavor. That’s why a vacuum sealer is such a smart investment. Your meat will stay juicy and delicious up to twice as long.
Until a vacuum sealer is in your budget, freezer paper is your second best option because you can fold and squeeze it to get most of the air out before taping up and freezing.
Do you have sticky-backed labels to mark each package’s contents? Writing directly on paper packages with indelible markers can allow the ink to seep through to the meat before freezing and during thawing later.
12) Are you ready to make your own venison summer sausage, brats, jerky or other meat products?
One option for the trim you don’t turn into ground venison is to take it to a butcher shop for further processing into the products listed above. But since you’re doing it on your own anyway up to this point, a better plan might be to make your own. Weston offers a complete supply of tools, equipment and ingredients to help you.
READ: EVERYTHING YOU NEED TO KNOW ABOUT AGING VENISON
Conclusion
The key to successfully butchering your own venison, and coming out with great results, is knowing what you want and being ready for the entire process.
So ask yourself these 12 questions — and know the answers — to be prepared and confident before taking knife to whitetail.