Early bow seasons are just around the corner. Are you getting ready? Sure, you’ve got a job, and kids, and a spouse, and the yardwork just won’t stop – but the clock is ticking, and unless you commit to a regular preparation routine, when opening day finally arrives and you have a shot opportunity, failure is a distinct possibility. And that’s not acceptable.
This isn’t about scouting, and trail cameras, and food plots. Those are topics for another time. This is about getting you, and your equipment, in tip-top shape. You have all summer, and that’s plenty of time. But only if you start now.

Here are 5 keys to a successful preparation program.
1. Gear Check
Bowhunters are notorious “gadgeteers.” We have lots of stuff, and over the course of a long hunting season some of it gets broken, some gets used up, some of it is lost in the shuffle. Now is the time to make some space in your garage or a spare bedroom and lay it all out where you can look over every little thing, then get your daypack ready to rock. One way to ensure I do not overlook anything is to keep a comprehensive checklist of gear on my computer, print it out, and check off items as I go through the process.
Consumables like ThermaCELL butane cartridges and insect repellant mats, gutting gloves, batteries for the game cameras and laser rangefinder, toilet paper, face paint, flagging, and so on might need replacing. Order it now. Do you have a small portable power pack, and appropriate cord, so you can keep the smartphone charged up when on stand all day? Are your knives razor sharp? Do you need more parachute cord and a new pull rope?
Checking your stands is critical, too. Take out your ground blinds and pop them up. Are they in good shape? Are there holes in the fabric that need repair? Does your blind chair squeak and groan when you skooch around in it? Set your treestand up low enough on a tree trunk so you can easily climb into it. Check it over for loose bolts, make sure the straps are A-OK, grease up areas where the stand will make noise. Don’t forget your safety harness. This is both a safety check, but also way to refamiliarize yourself on how to get stands and blinds set up quickly, quietly, and safely.
2. Check Your Bow
A compound bow is a machine, one that creates a lot of vibration and torque when fired. This can slowly force screws to come loose. Not just now, but also over the course of a long hunting season, take a few moments to retighten all the bow’s screws and bolts. I give them all a tiny squirt of lubricant to both keep them quiet and help prevent rust. Closely examine the bowstring. If it’s badly frayed and needs replacing, do it now so you have plenty of time to get the bow re-tuned. Check your bow sight for loose screws and broken or bent sight pins. Is the arrow rest securely bolted in place, and is the drop-away cord in good shape? Is the string loop frayed, and located where it needs to be? Make sure the peep is securely inserted in the string. If you’re going to change anything – stabilizer, maybe the sight or your release aid – now’s the time to do it.

Often overlooked is the bow quiver. If it’s removable, does it go on and off easily, and quietly? Does it remain snugly in place? (I’ve had a quiver come off the bow after hitting an unseen branch on the way to a stand in the dark with the bow strapped onto my backpack, so now I choose quivers with this in mind.) Is the quiver head insert the right kind for the type of broadheads you shoot? Remember that mechanical heads that require a rubber band or O-ring to keep the blades in place, and/or are of the slip-cam design, can’t be jammed into a foam block inside the quiver head.
3. Check Your Arrows & Broadheads
Closely examine your arrows for any nicks or dings in the shaft itself, tears in the fletches, or loose or broken nocks. Take a wet paper towel and clean the shaft. If you’re going to change from conventional to lighted nocks, do it now, before the tuning process. And spin check every shaft with broadheads. If there’s wobble, something’s amiss with either the shaft or broadhead, and it needs to be discarded.
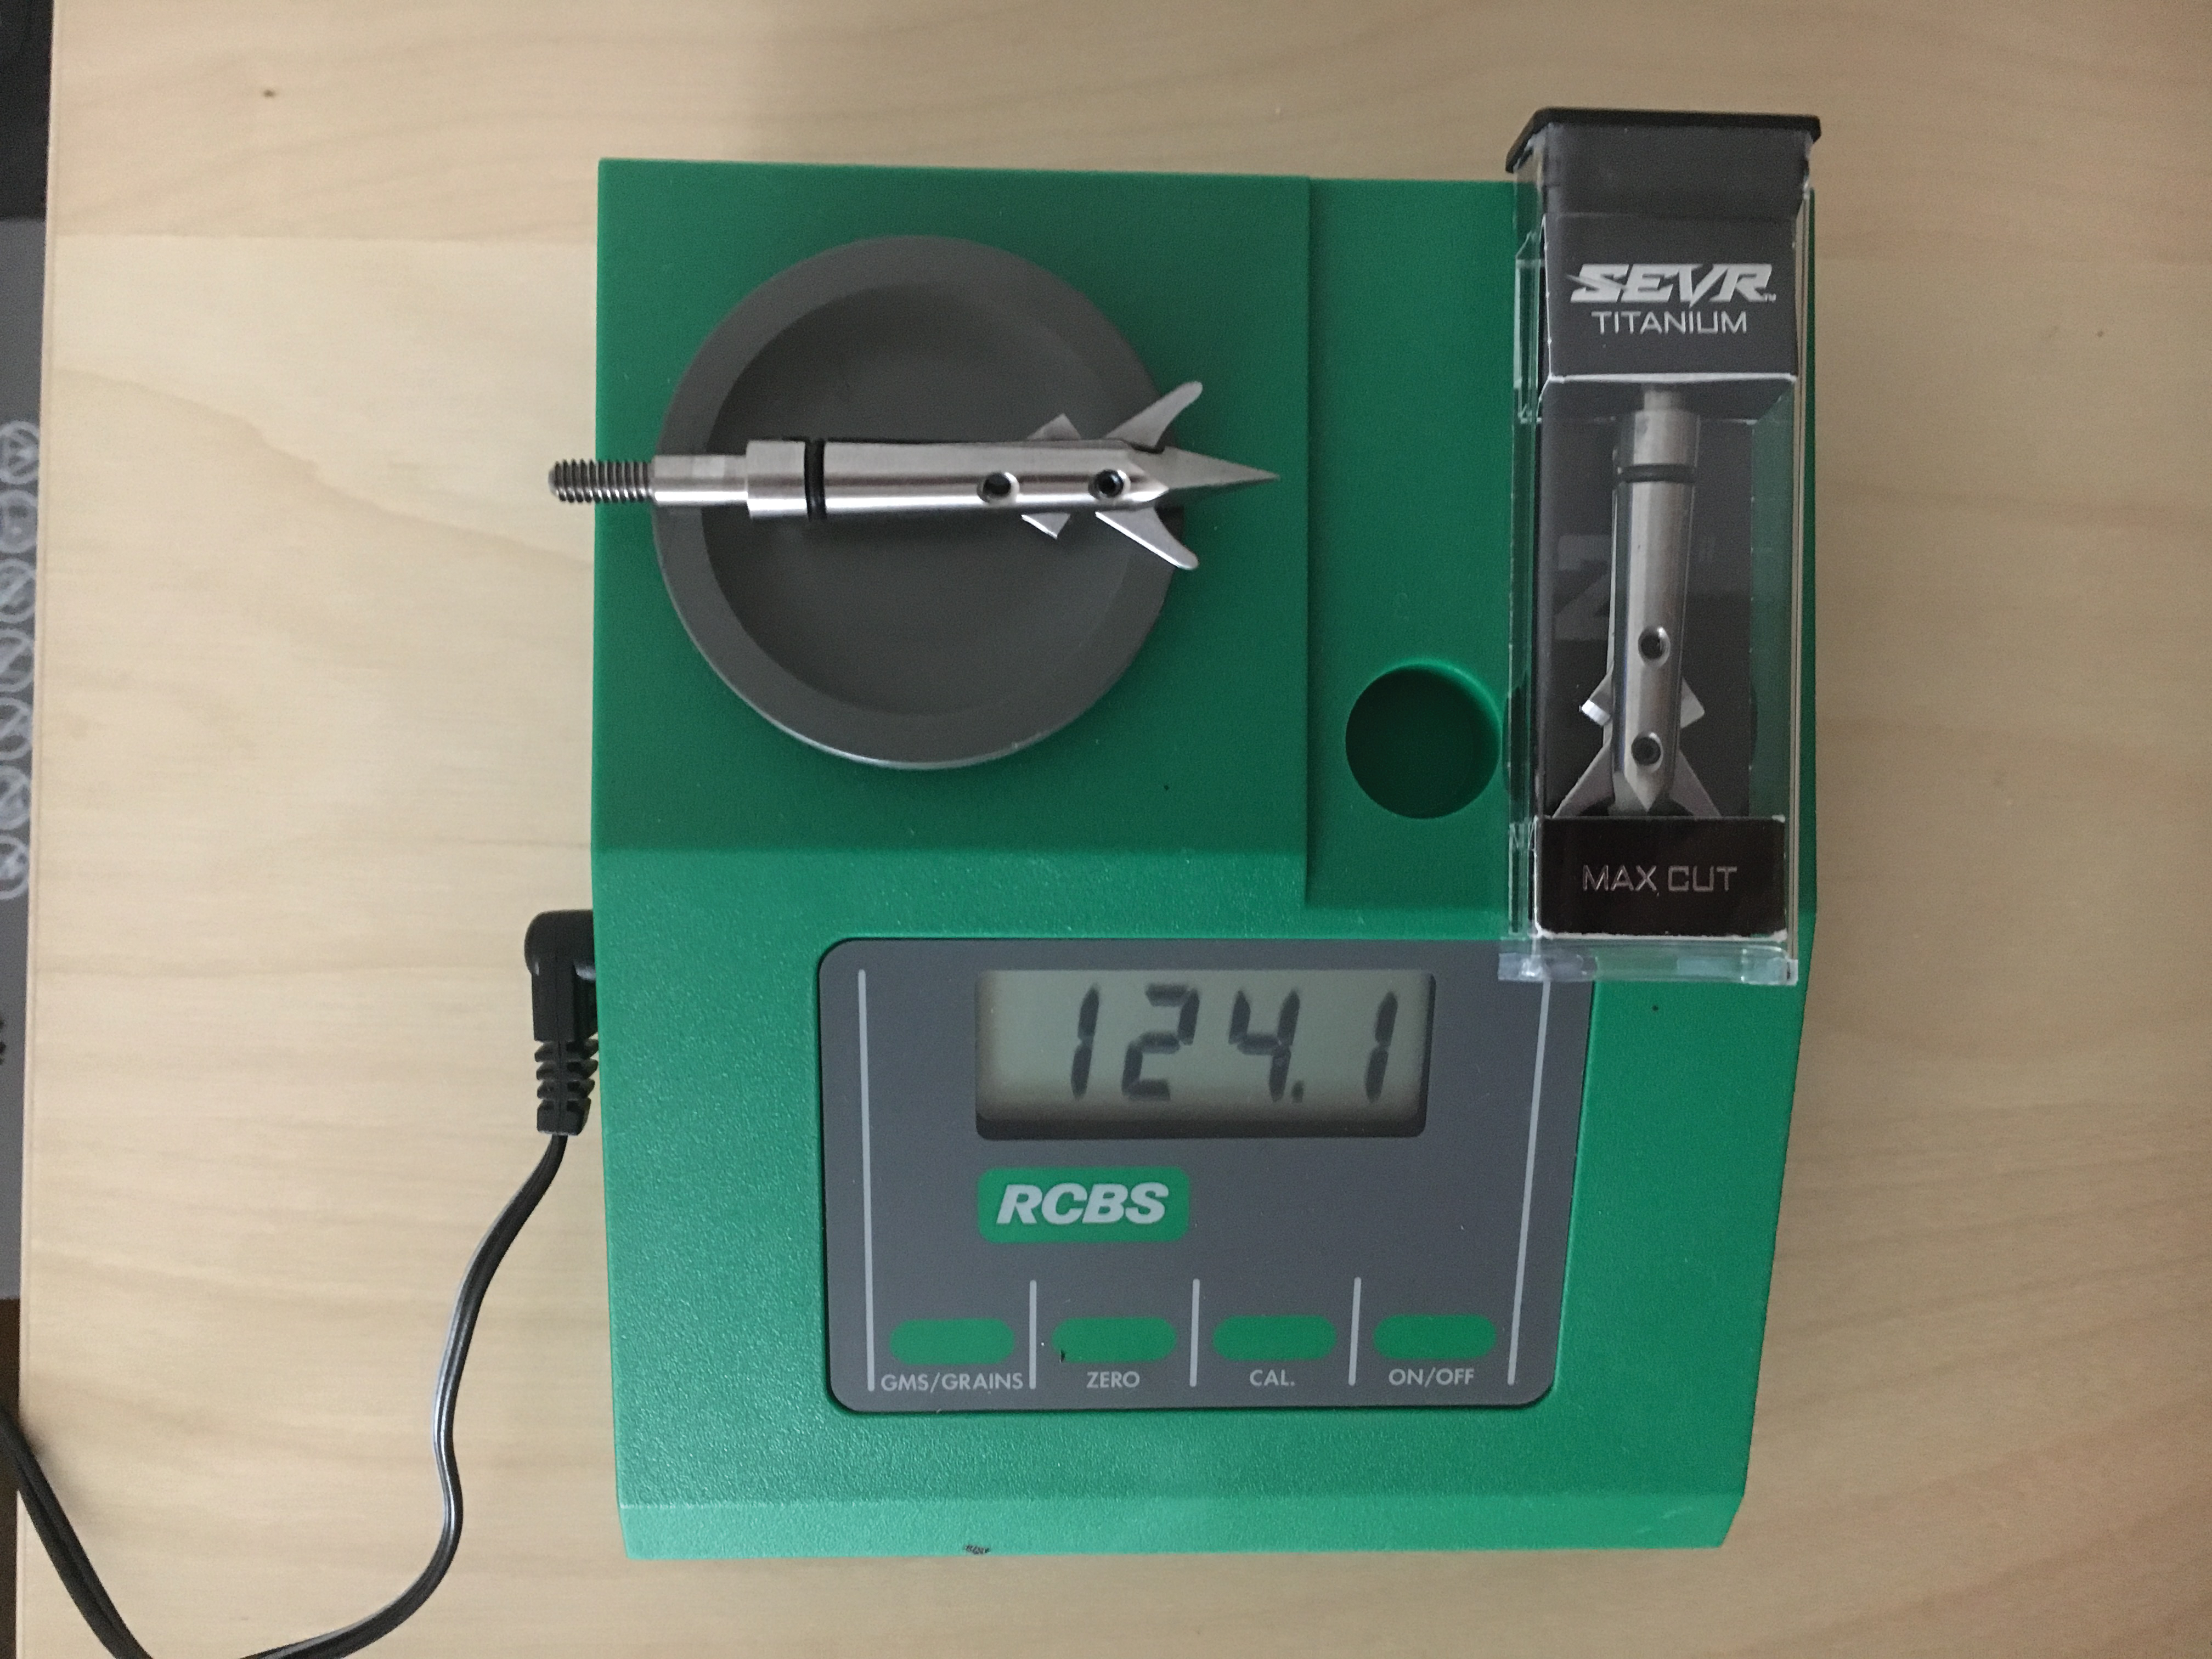
Check broadheads for blade sharpness, and change out replaceable blades if necessary. Mechanicals that require O-rings or rubber bands should be examined closely. I also weigh every broadhead on a grain scale, as well as my finished hunting shafts, so I can get a quiver full of shafts weighing very close to the same.
4. Tune Your Bow
I am a fanatical bow tuner. Ideally, you have been shooting at least a few arrows every month to stay in shooting shape. Most, however, do not. That’s OK. We still have a few months before the opener to get ready. After the bow check has been completed, it’s time to paper tune your bow. The reason this is so critical is this – if your arrows are not flying like lasers, consistent accuracy is not possible. This laser beam arrow flight is made possible by meticulously paper tuning.

I start the process with field points. The goal, of course, is to keep making slight adjustments with the position of the arrow rest until bullet holes through paper are consistently achieved at a distance of between about eight and 15 steps. There are lots of videos and printed materials that show you how and when to make specific adjustments. Once the tuning process is complete, move on to our next step, which is sighting the bow in.
But first, a couple of points. I always chronograph my arrows so I know my initial arrow speed. This isn’t critical, but it does help me know how to adjust my sight pins and allows me to calculate kinetic energy. I have a little portable product called the RADARchron chronograph that screws into my stabilizer hole that lets me do this. Sadly, it’s no longer being made. You can usually visit an archery pro shop and shoot through their chronograph.
If you need to adjust your draw weight poundage down (or up) for hunting season, do it before tuning. Most bowhunters have their draw weights set too high. For decades my compounds were set at 70 pounds, but this year, as a reflection of advancing age, I turned them down to 65 lbs. This requires re-tuning.
Lastly, once the bow has been tuned and sighted in, switch over to hunting broadheads and re-tune the bow. Depending on your broadhead choice, it won’t take much tweaking to get broadheads shooting bullet holes. But if it does, do it now, then move on to your final sighting in.
5. Sight It In
Precisely sighting the bow in is the final preparatory step. Assuming you use a multipin sight, first set the top pin at whatever distance you choose. For me, it’s 20 yards. I set subsequent pins at 10 yard increments. That’s pretty basic. Here’s a simple way to reduce your groups.
Instead of shooting at a fist-sized target spot at 20 yards, use a bubble level and run a strip of masking tape perfectly straight across that creates a horizontal line through then center of the bull’s eye. Now shoot a few arrows, adjusting the sight until all the shafts are striking the tape, or are very close, which allows for human error. Set the pin. Now move back to 30 yards, and repeat, then 40 yards, and so on. Unless the shots are hitting way left or right, don’t worry about this yet. Once you reach what you think is your maximum distance, hang string straight down through the center of the bull’s eye or, using the level, run a piece of tape vertically through the center. Now shoot at your maximum distance, adjust the entire sight left or right until the arrows are hitting on, or very close to, the line.
Once your shooting form and results are where they need to be, you’ll go back and re-tune with broadheads, and go through the same sighting in process. It should not take much in the way of adjustments, but at the end of the process, both you, and your bow, will be ready to rock & roll.
4 Shooting Drills To Get You Ready
Bow and gear ready to go? Here are four practice shooting drills to dial you in.
1. Practice Drawing, Shooting While Seated:
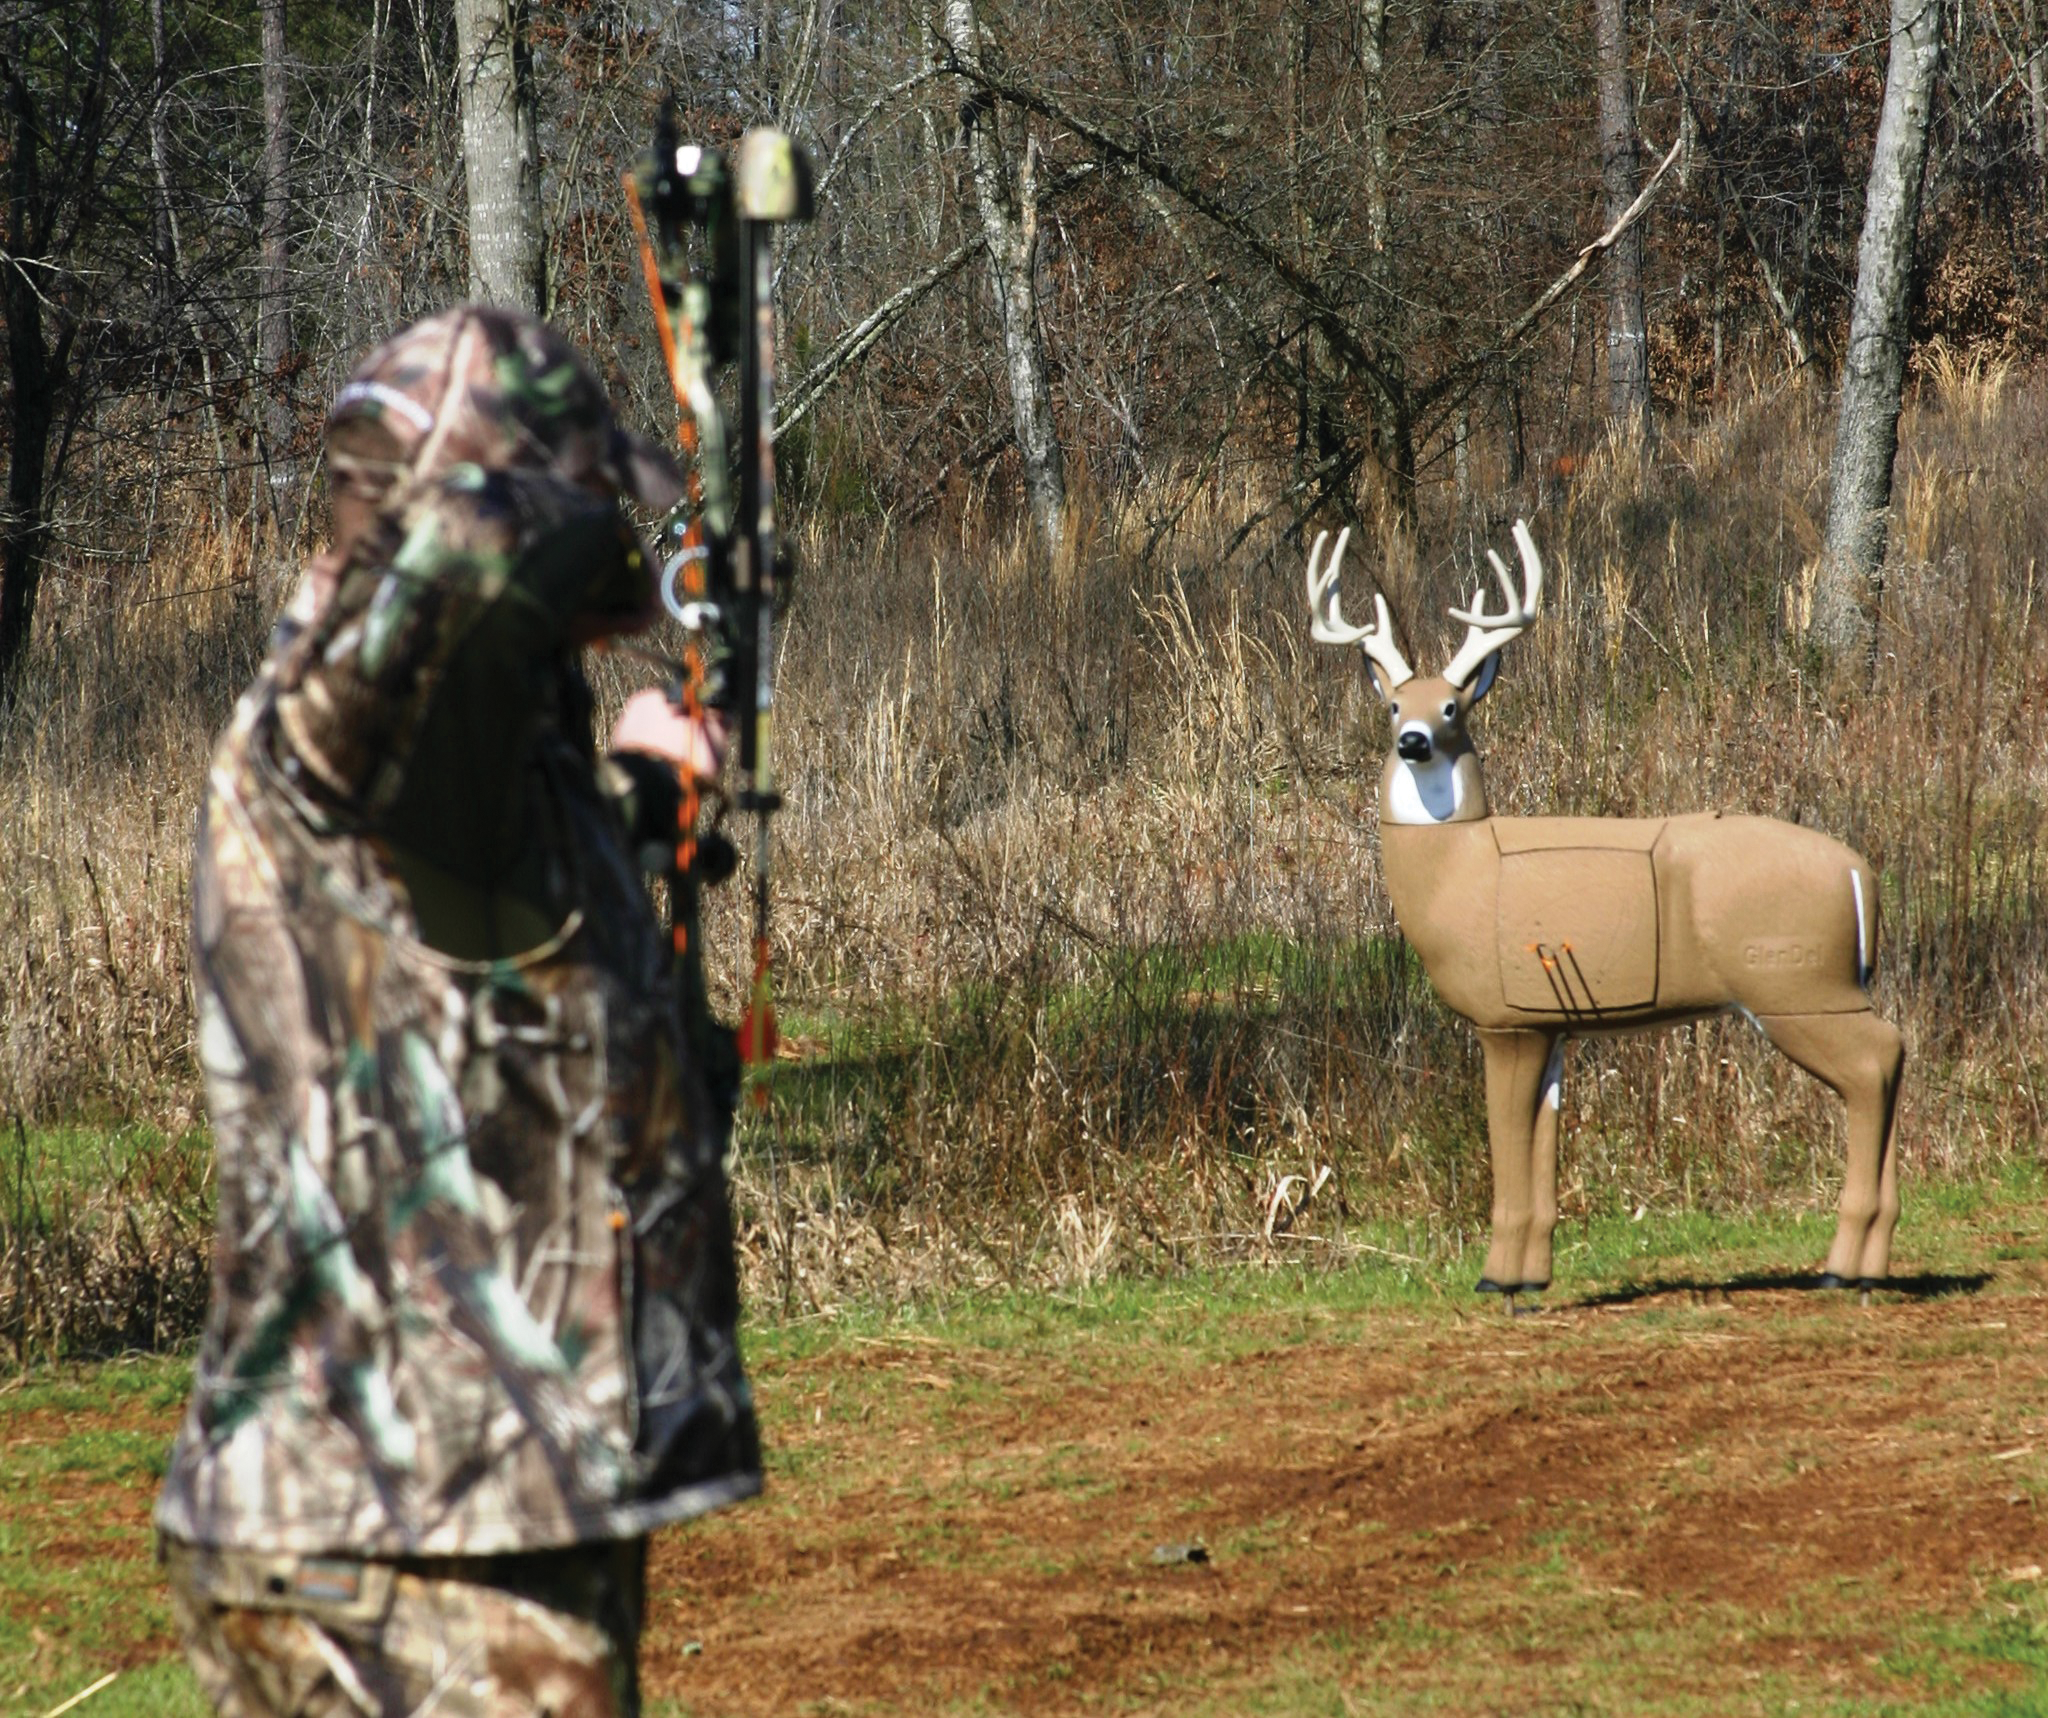
No matter if you hunt from a treestand or ground blind, you must be able to shoot while seated. So, sit in a chair and try to draw your bow. If you can’t draw it properly without “cheating,” turn the poundage down. Once you can draw properly, set three targets at 20, 30, and 40 yards, get in the blind or up a tree, and place four consecutive shots inside a 6-inch circle on each target.
2. Hold ’em, Don’t Fold ’em:
Got caught while at full draw? You need to be able to hold your bow at full draw for at least a minute, then make an accurate shot. So, draw and hold as long as you can. The more you do it, the longer you will be able to hold. Then, make the shot.
3. Here He Comes!:
When a rutting buck charges to your stand and you stop him, can you shoot him right now, before he blows outta there? Draw and make the shot quickly, at different ranges.
4. Go Deep:
Even if you never shoot at deer past, say, 30 yards, practice to 60 yards or more. You can do it! And when you can, making a close-range shot becomes easy as pie.
— Bob Robb has contributed thousands of magazine articles to a variety of hunting and fishing publications and websites since 1979. He’s also widely considered to be one of the best bowhunters in America.