I’ve been extremely blessed over my life. One of the many ways is that I’ve been able to setup and manage all sorts of prime Midwestern on up through Canadian grounds for approaching 35 years, now. Back when I offered such services to the public, I’d manage four or five properties every year, managing each for four or five years, before turning it back over to the owners for the maintenance.
Each year, one of the properties would be ridiculously large, offering all the big equipment I could use and more. That said, the other three or four of them were always real-world properties in every way, often including very limited equipment.
Because of that, I’ve experienced the full range of hands-on experience with everything from roto tillers to full blown commercial framing equipment, and all in between. Some were good, others not so much.
With all that in mind, there’s a reason I have my own ATV implements that I use on the two families’ properties that I’ll be working until I retire. There are a lot of options out there, and I’ll tell you this: Today’s technology can drastically improve not only how much you can get done, but also how fast and efficient you can get it done.
What follows is how I get the true max out of my equipment.
The Specs
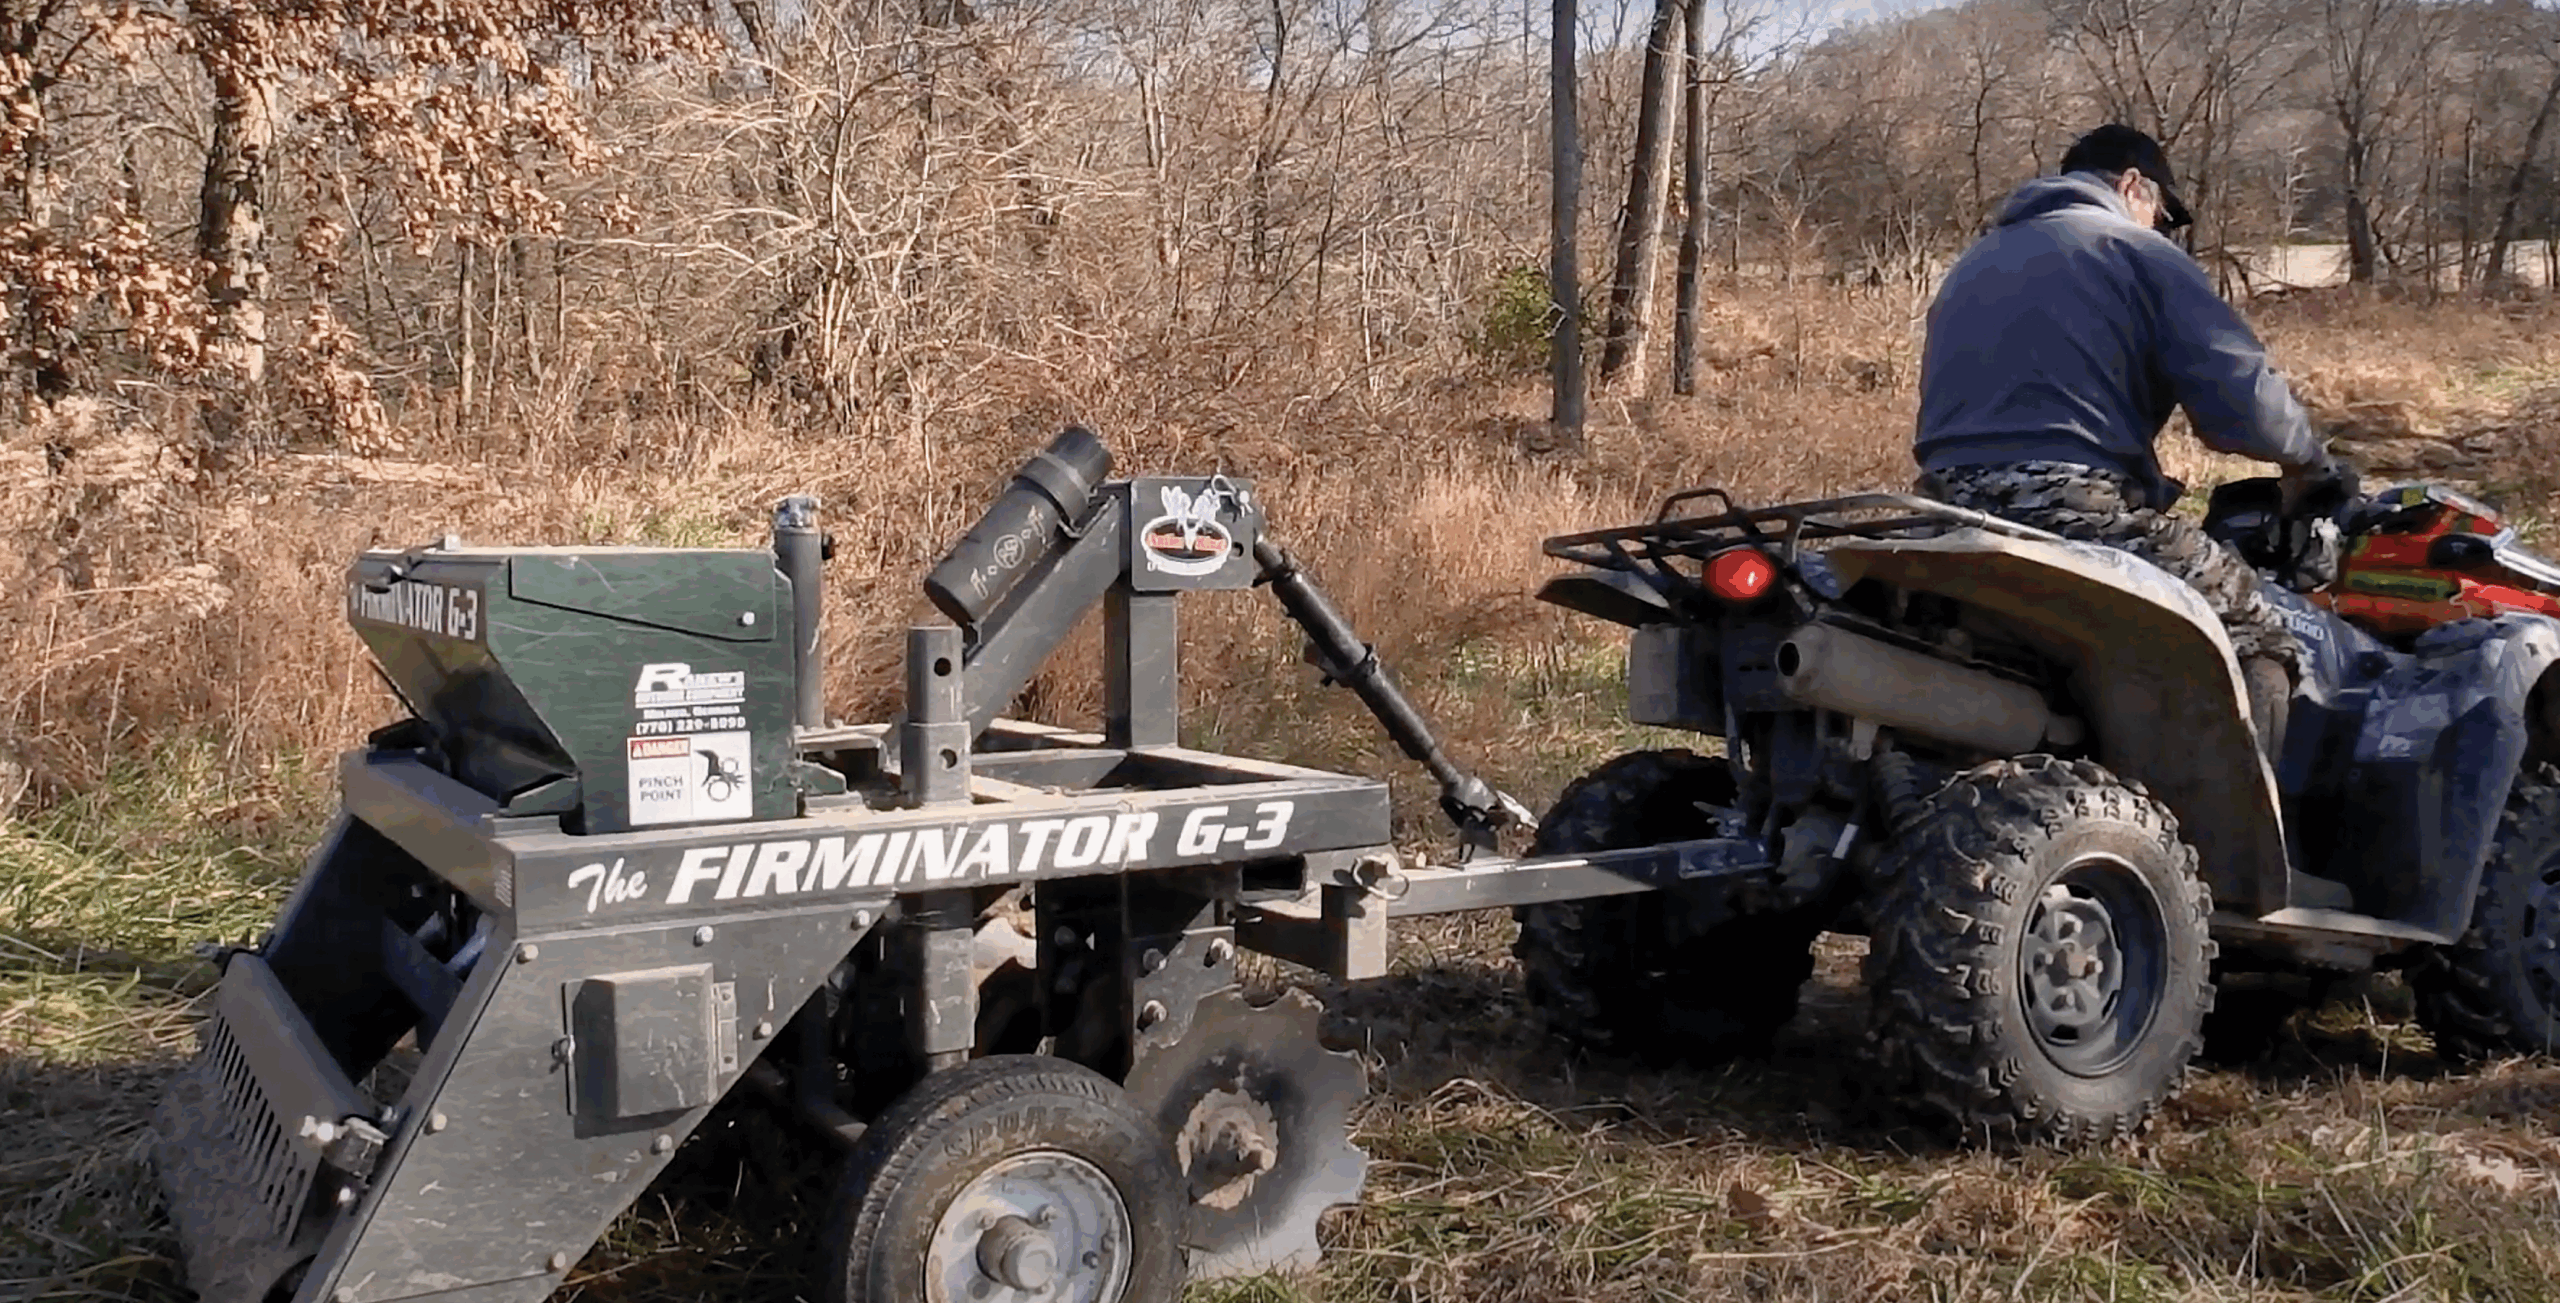
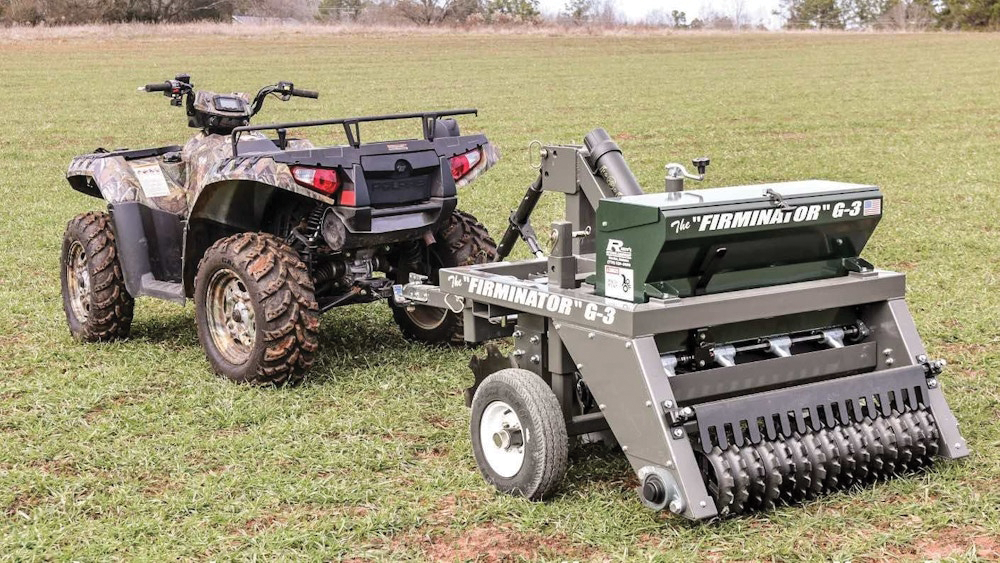
A good example of an ATV model that works well for food plotters is the Firminator G-3. It is merely a foot smaller version of their 5’, 6’ & 8’ G-3s for use with tractors. In each case, they come equipped with a heavy-duty disc harrow, 9-inch cultipacker wheels, though the tractor versions offer 12-inch, as well, and a seeder that can handle everything from small brassicas to larger corn seeds.
That said, the full range of angle and pitch adjustments, along with being steel construction coming in at around 880 pounds of near indestructability is what makes this bad boy truly special, in my experience. I can adjust so the full weight is shoving the 4 discs into true hardpans that a typical 10’ disc would skate over. One can also set the proper pitch and angles so the discs are barely etching the top fractions of an inch, to merely cultipacking and near every imaginable other comb between.
When considering that, their recommendation of using a 550cc or larger ATV makes sense. Unlike the others, this isn’t a food plot toy. It’s a true food plot implement and it takes muscle to drag 880 pounds of steel, while digging 5+ inches deep into previously unbroken soils.
I’ve personally found outfitting the ATV with quality, aggressive tires to be a huge help. Then, with some extra weight on the front, we’re truly cooking with gas and able to muscle through way more than a light front end and balder tires ever could.
Simply put, most of today’s ATV units have all the features of their full-blown tractor models, only switching out the 3-point hitch for a tow bar with a 2-inch ball hitch, but retains 3-point hitch capabilities.
Proving Its Worth
Specs are great, but how products preform in the real world is what actually matters far more. Heck, the specs on more than a few of the toys I’ve found near worthless in use have sounded solid enough. Unfortunately, those specs weren’t worth a pass of turned dirt, way more than they were.
So, instead, I’m going to break down exactly how I use an ATV model, in very real-world scenarios. Frankly, in some cases, it truly exceeds what most traditional farm equipment can pull off.
Let’s start with a bang right off the top. Many times, the best locations for stagging plots are found in old, overgrown cow pastures and other not farmed grounds. Busting sod that’s simply never been busted before with just a disc can be extremely frustrating in all but ideal soils conditions. Even if all the top debris is removed, those 10’ discs simply skate over the top, unable to break through.
Now, I’ve done it with and without removing to grass and weeds first. If possible, remove that debris, as it will make turning the dirt way easier and the seed bed so much more viable.
That said, the approach is the same, either way. I start by setting all 4 discs straight and place all 880 pounds squarely on the discs, so they’re merely cutting straight channels. I find one or two passes enough to break the hard pan effect.
I then adjust the discs to one of the more aggressive settings and repeat, now actually kicking dirt. With one or two passes complete, I set to a medium aggression and even the weight between the discs and the cultipacker. With one pass like that, I have a firm seed bed.
Then, it’s fill up the seed bin, adjust for rate, adjust to place all weight on the cultipacker and finish the seeding with one more pass. Anyone that’s broken previously unbroken soils truly understands the value of being able to pull that off.
Another scenario many run into is the desire to no till, without the proper equipment. Frankly, the better no-till drills cost more than many homes.
In areas that offer decent or better soil moisture levels, one doesn’t need a no-till drill. Frankly, you don’t need a do-all ATV implement, either, but they sure work well.
Without equipment, all one does is spray the area with a Round-Up® equivalent and seed either right away or before the weeds start dying. Being a contact herbicide, the chemicals only kill living grass and weeds they contact, being completely harmless to the seeds. As the weeds and grass die, they fall to the ground and blanket the seeds between the dirt and duff. That can work fairly well.
With the ATV do-all implement, I spray as described and then wait for the plant life to start showing signs of death. When they start turning, but before they drop, I set the discs to cut straight and distribute the weight so the discs are cutting less than an inch deep and most of the weight is on the cultipacker. Then, as I seed, about half are hitting the cut groove, with the packer sealing the grooves, just like a no-till drill.
The reason I like this method in areas with grass and weeds is that the packer is also flattening the grasses and weeds over those 50-ish percent of seeds not hitting the grooves, providing an overall acceptable germination rate.
In this case, it isn’t actually enabling me to do something I otherwise couldn’t. It’s merely making it much more effective.
That’s also the case with our last real-world scenario. There’s a really good chunk of Central Wisconsin that’s pure rock country. We’re not talking the type of rocks a lot of us spent spring days picking from fields. We’re talking big equipment required to even budge-sized rocks.
When it comes to using traditional discs or tillers in that area, get set for an epic helping of frustrations and repair time. Those rocks aren’t moving for either.
Now, I’m not going to pretend that I purposefully hit them head-on with the ATV implement. I sure don’t.
That said, due to the smaller size, it’s way easier to work around the rocks. At the same time, the heavy duty 18-inch, notched, 9-gauge steel discs have the high tendency to skate over the rocks, simply cutting deeper into the earth on the dirt side, without shattering to bits. If a disc brakes, with a couple of tools and a jack, it can be fixed on the spot.
Conclusion
Though one is often best served to use the full range of legit farm equipment, the associated costs of doing so just isn’t an option. In my experience and many years of use, do-all ATV implements like the Firminator G-3, and others, are truly legit alternatives, capable of doing everything one can with all the big-farm equipment.
As a bonus, when it comes to breaking previously untouched grounds and getting to tough locations in one trip, do-all ATV implements actually exceed what can be done with traditional farm equipment.
— For videos on these products in use, check out our DeerTopia TV show on Pursuit Channel and video shorts at www.YouTube.com/@DDHonline