Every home venison chef needs at least one cast-iron skillet, one of the most legendary and time-tested cooking utensils ever created.
If you had to choose one and only one cooking tool to use the rest of your life as a home venison chef, what would you select? The options are extensive indeed.
Certainly a grill, of either the charcoal or gas variety, would get plenty of votes. There’s nothing like the juicy flavor of a quick-seared venison chop, sirloin or tenderloin. A grill would also take care of kabobs, burgers, brats and fajitas. But you would have an issue preparing dishes combining liquids with drier cuts of meat such as flanks; shoulder, rump or leg roasts; and briskets and stews.

Crockpots would generate some votes, and for good reason: ease of use. There’s nothing better than loading up a slow cooker early in the morning, turning it to low for an all-day slow-cook, and coming home to the savory aroma of a pot roast, stew, chili or other venison creation permeating the house. But most of us would miss the flavor provided when grilling or searing more tender cuts of venison.
A Dutch oven might get some votes. Who doesn’t love soups, stews and chili? A pot roast is also fair game for this unique vessel, as are a variety of other moisture-based venison dishes. You can use a Dutch oven on the stovetop, stick it in the regular oven, or do both with the same recipe. When crafted in cast-iron, a Dutch oven comes close to being the perfect venison-cooking tool.
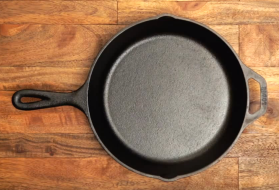
But there’s one tool that combines the best aspects of all these cooking tools: the old-fashioned cast-iron skillet.
It’s the most versatile venison-cooking tool you can own. From quick-searing thin and delicate strips of tenderloin for one minute to simmering a tough flank steak all afternoon, or from building a hearty pan stew for a hot meal on a cold winter’s evening to browning ground venison for taco meat or spaghetti sauce, and almost every imaginable use in-between, a cast iron skillet truly is the one venison cooking tool every home chef must have in his or her kitchen.
Let’s explore every aspect of the black cast-iron skillet: its history, benefits and versatility; how to select a good one to buy; and how to take care of it so it will last a lifetime. Then we’ll look at a dozen starter ideas to give you a flavor of all you can do with this delightful, do-it-all cooking tool.
HISTORY, BENEFITS AND VERSATILITY
Cast iron cookery first began in the Far East over 2,000 years ago. The concept slowly made its way to Europe, probably through trade, and by the 16th century the Dutch were using sand to create molds in which to pour molten iron and cast cooking pots — today known as Dutch ovens. Europeans in turn brought cast iron pots, pans and utensils to the New World.
In American history, George Washington’s mother thought enough of her cast iron cookware pieces to bequeath them with special mention in her will. And on the 1804-06 Journey of Discovery expedition, Lewis and Clark made plenty of room for cast iron cookware (despite its weight) in their supplies. The crew ate many a meal of whitetail, mule deer, pronghorn and elk venison fried or stewed in cast iron.
The technique for casting kitchenware is much the same today as it was centuries ago: A mold (today made of plaster and sand) is created, molten iron is poured in and allowed to cool, then the mold is busted off and the resulting skillet, pan or pot is sanded down.
No matter what form it takes, cast iron is an ideal material on which (or in which) to cook. It holds heat well, distributes heat evenly across the cooking surface, resists allowing “hot spots” to form, and is highly durable.
In addition to durability, cast iron offers incredible versatility, and works well for almost all kinds of cooking. You can take cast iron from stovetop to oven, or use it on a grill grate or over the coals of a campfire. A cast iron skillet can sear, brown, fry, simmer, sauté, bake, stew, boil, steam … and perform almost any other cooking technique you can imagine.
IMPORTANT FEATURES AND
BUYING CONSIDERATIONS
If you’re looking for your first cast iron skillet, or adding one to your collection, take these considerations into account:
* The heavier the skillet, the better. A thick base and walls work to distribute heat better, eliminate hotspots and hold heat longer.
* Only opt for a one-piece unit cast from a continuous piece of iron. This is the traditional form of the cast-iron skillet and it’s virtually indestructible in the handle area, as opposed to flimsy units using an attached handle of different material.
* For better cooking results and longer skillet life, avoid enamel-coated cast iron. The whole idea behind cast iron is transferring heat directly to the food being cooked. Enamel coating gets in the way of that process; coatings also wear out.
There are many fine brands of cast iron cookware on the market today. It’s hard to go wrong if you buy quality cookware, but don’t necessarily fall for the idea the more expensive is always better. Some mighty good cast iron skillets, sized up to 10 or 12 inches in diameter, can be had for less than $50. Lodge is an excellent brand name in this respect. Griswold, Erie, Wagner, Camp Chef and Staub also make the A-list. As long as you follow the care and maintenance rules of cast iron skillet cookery, most any brand will do the job.
ESSENTIAL MAINTENANCE
A cast iron skillet is easy to take care of. Once you learn the correct cleaning and maintenance routine, you’ll be surprised at how little time and effort it takes to keep your cookware in top condition.
Many skillets come seasoned when you buy them. This means you don’t have to condition or prepare them for use yourself. Check the skillet’s label, or read the description online, to know if it’s seasoned.
SEASONING A SKILLET
If your skillet already has been seasoned, great! If not, here’s how to do it.
* Place a foil liner in the bottom of your oven and pre-heat to 350 degrees.
* Wash the skillet in scalding hot water. The goal is to remove any residue from manufacturing that might remain. You can use a little soap at this point, but rinse well.
* While the skillet is still hot, dry it with a clean, lint-free towel.
* Apply vegetable oil very generously across every surface — inside, outside, handles — of the skillet.
* Place the skillet upside down in the preheated oven and “bake” for 30 minutes. The oil will impregnate the open pores the heat produces, rendering the skillet non-stick.
MAINTAINING YOUR SKILLET
One seasoning doesn’t last forever. You need to clean and season a skillet after every cooking session. Here’s the process to follow once cooking has ended:
* Pour scalding hot water in the emptied, sizzling skillet if you’ve fried or seared. If you’ve simmered, or used the skillet as a serving vessel, you can do this process later.
Use a sponge or paper towel to wash the pan. The previous seasoning should have made the pan extremely non-stick, but you might need to use steel wool (not the soapy kind) or a stiff bristle brush to wash the pan in hot water only. American cowboys sometimes used sand as an abrasive to clean their pans.
* Remember: No soap is needed or wanted now! It will impregnate the open pores of the cast iron.
* While the skillet is still hot, dry it immediately.
* Place a few generous dollops of vegetable oil on the still-hot skillet (it should be steaming), and rub the oil in all surfaces (in and out) with a paper towel.
* Set the clean, seasoned pan in a warm place (perhaps the stovetop) to air dry completely before putting it away. This eliminates any chance for rust. I leave my cast iron out overnight.
CAST-IRON CREATIONS
A cast-iron skillet is durable, versatile and simple to take care of. So what are some of the ways you can put this almost perfect cooking tool to good use when working through your annual supply of venison? Here are a dozen concepts to get you started.
Seared Tenderloins or Chops: With a light layer of oil and some fresh crushed garlic, cast iron quick-sizzles prime venison cuts to medium-rare perfection.
Skillet Steak Strips and Sautéed Mushrooms: Quickly sear steak strips from any venison cut in a little oil and garlic, then add sliced mushrooms.
Skirt or Flank Steak in Sauce (Swiss Steak): Coat any steak cut or venison portion in seasoned flour or Fry Magic, brown in oil, add red wine to pan to pull up the drippings and crumblings, add a couple of cans of diced tomatoes and simmer for as long as you want.
Chicken-Fried Steak: Coat steaks in seasoned flour and chicken-fry them. Get a good, fast sear/browning, then turn the heat down to medium or so and let the inside meat steam-cook.
Fajitas: Get two pans going: One for steak strips, the other for sliced peppers and onions.
Pan-Cooked Brats: Venison brats don’t have to be just grilled! A cast-iron skillet heats them up just fine and provides good flavor from the browning process.
Sausage, Peppers and Onions: Cut brats or polish in half, sear all sides in a little cooking oil, then add sliced peppers and onions.
Skillet Stew: Brown coat venison chunks in some oil, add can of beer and cans of diced and/or stewed tomatoes, and simmer for a few hours. For the last hour, add vegetable chunks (potatoes, carrots, green beans).
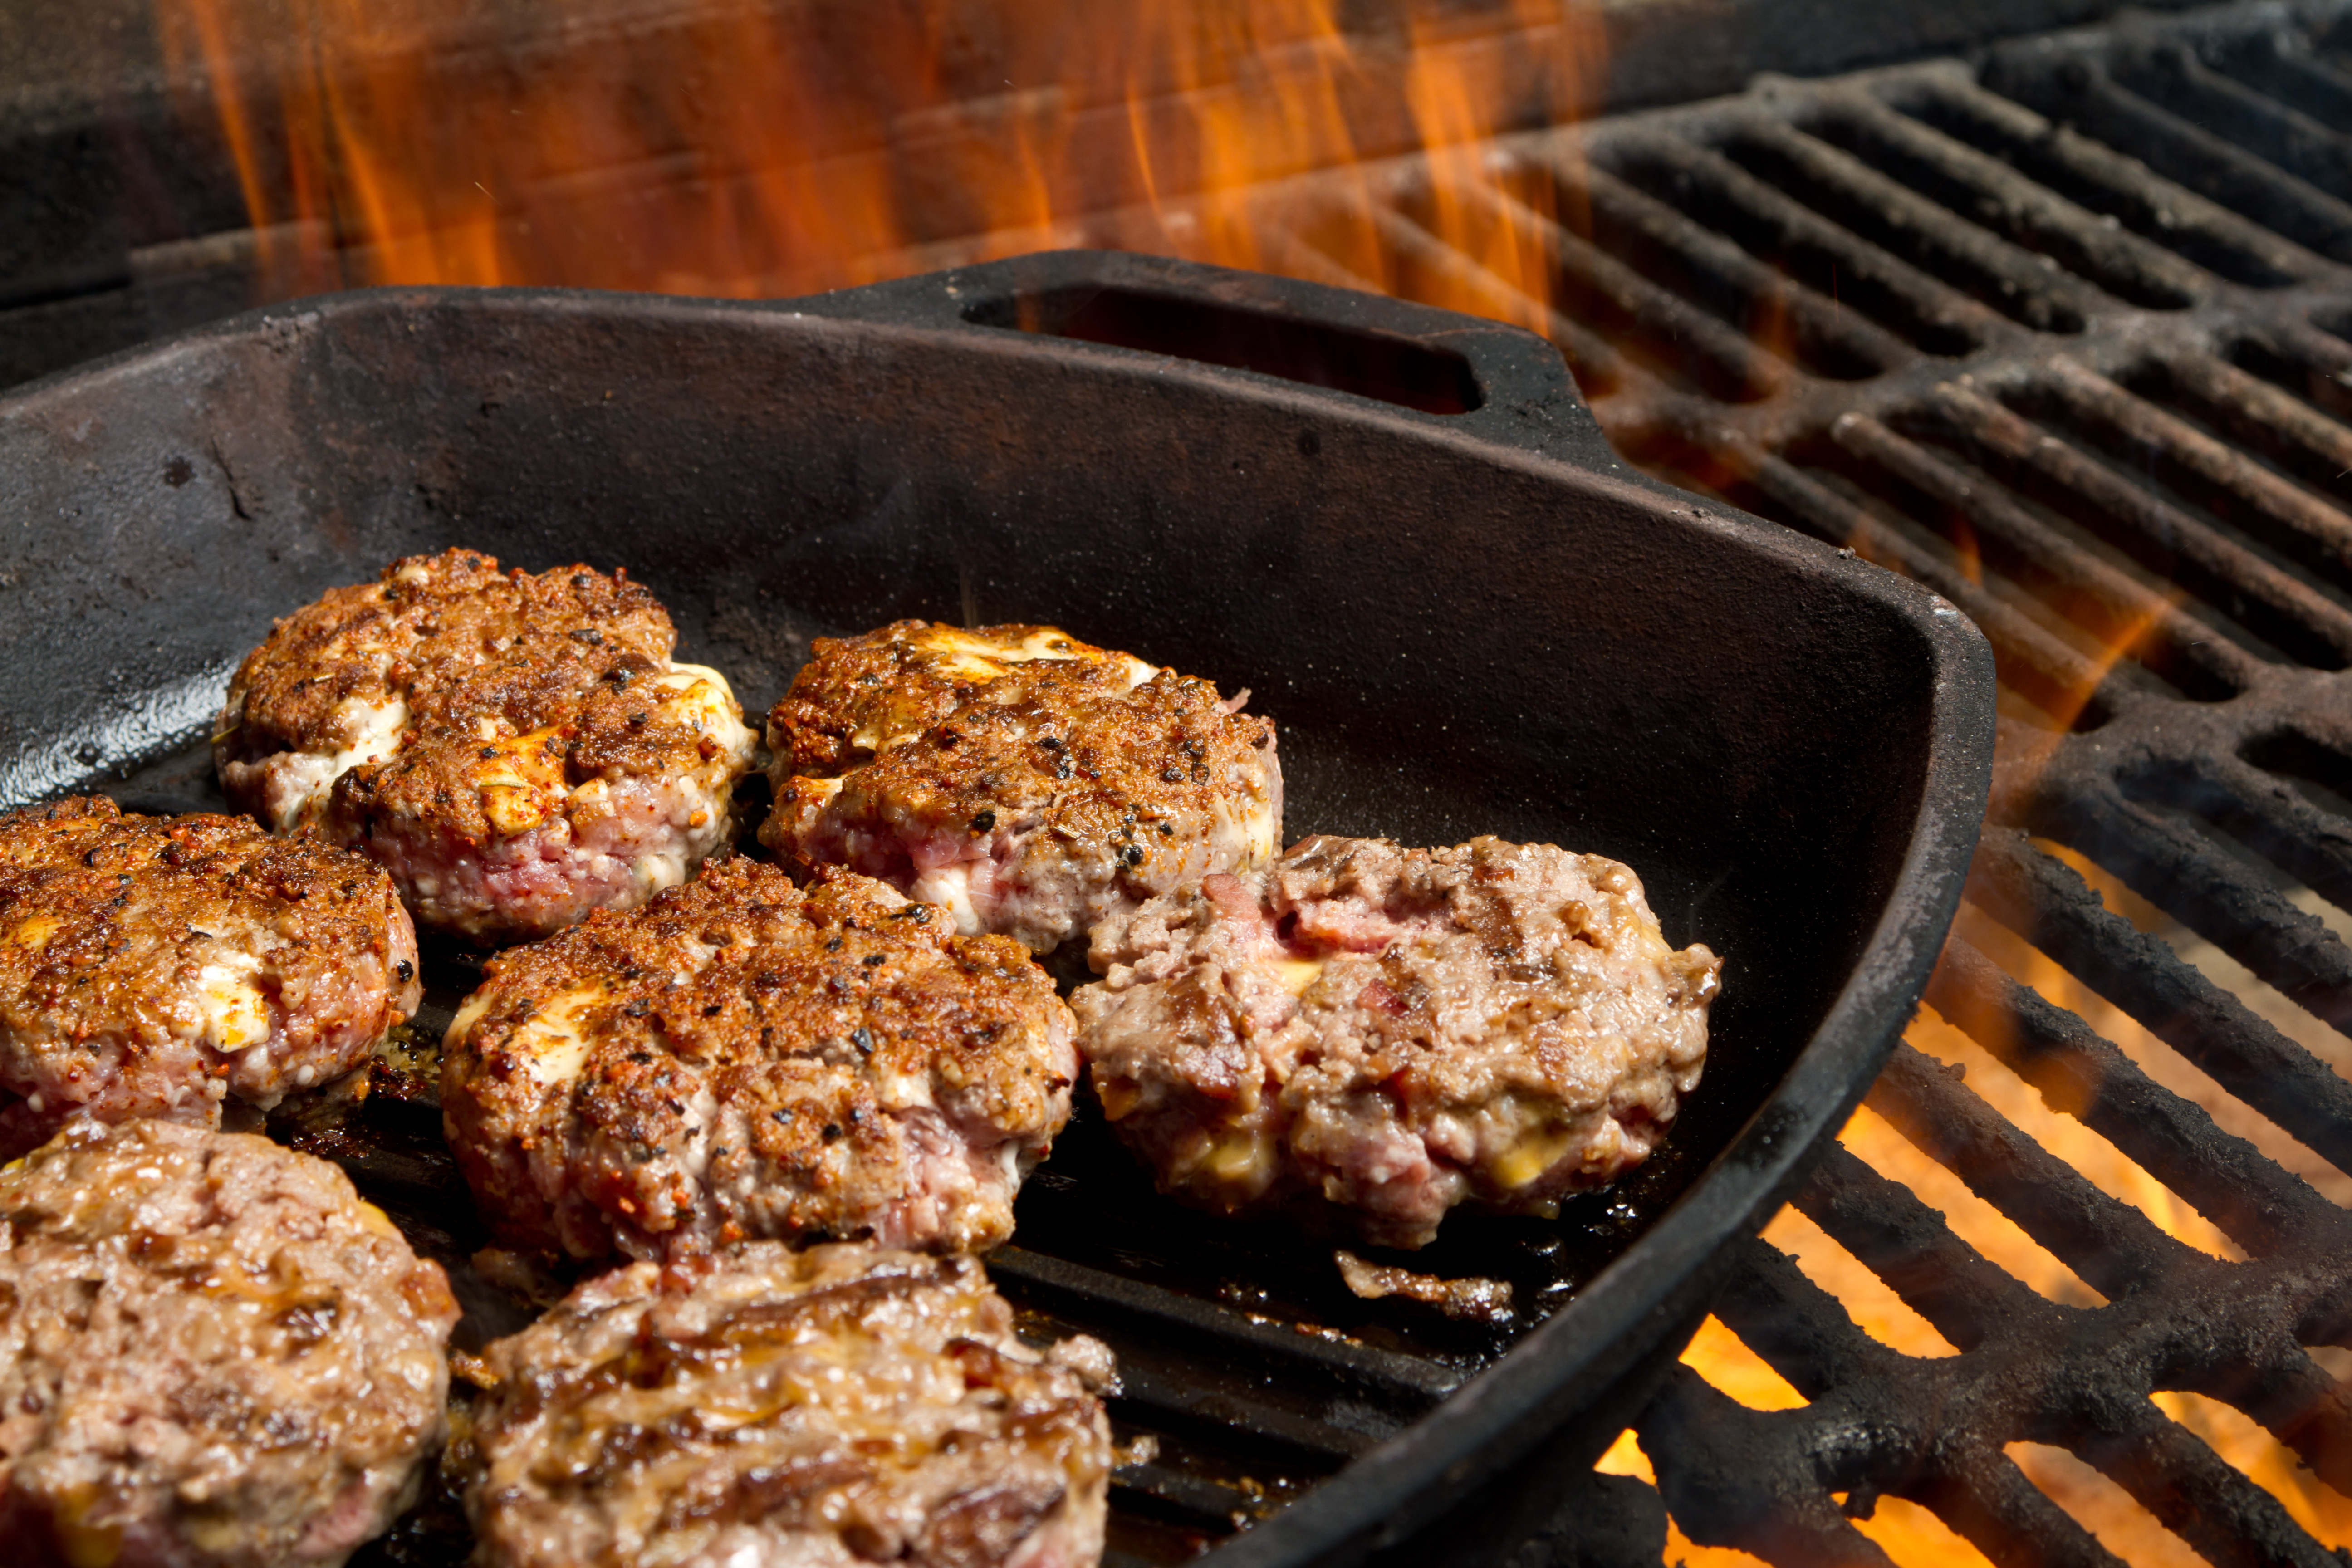
Hamburgers: Sear burgers in just the slightest coat of oil in a cast-iron skillet. The flavor rivals grilling any day.
One-Skillet Breakfast: Fry venison summer sausage slices, push to side, crack eggs into the resulting grease and scramble or fry over-easy.
Unstuffed Peppers: Brown venison burger, push to side, sauté diced peppers and one onion, mix meat back in, add cooked rice.
Meatballs with Cherry Tomato Sauce: Brown a pound of venison meatballs, add two to three tubs of cherry tomatoes that have been halved, and allow them to cook down and liquefy for a natural spaghetti sauce.
CONCLUSION
No one is ever going to ask you to limit yourself to just a cast-iron skillet for cooking venison. But if they did, you’d be sitting pretty. Cast iron’s durability and versatility is unmatched in the culinary world. Make a traditional cast-iron skillet part of your own venison cookery tradition and savor all of the results.