It doesn’t matter whether I’m getting my winter firewood in, weeding the garden, watching a John Wayne western in the “Man Cave”, or sitting in a tree stand; Whenever I get the pangs for a snack, I reach for some jerky. Not just any run of the mill jerky or the packaged offerings readily available these days in mom and pop, box and grocery stores that cost a small fortune, but venison jerky. It is somewhat comforting knowing I’m chewing and consuming something not previously injected with MSG or growth hormones, something made in my own kitchen. I know where the ingredients came from, what’s in it, and it is one of the heathiest snack foods. I also like the fact that it is easy to make.
How Good Is It?
Because we make jerky only from wild venison, we’re off to a good start. On its own, deer venison is lower in fat and higher in protein than other common red meats – a double win, particularly for those battling or concerned with cardiovascular disease. It is also lower in calories and an excellent source of B vitamins – B1, B2, B3, B6 and B12 to name a few. Deer venison also contains Vitamin E, Folate, Zinc and a host of essential amino acids. No matter how you look at it, venison is just good stuff.
The health benefits of venison can be degraded when making jerky by what we add to it. Specifically sugar and salt, which are used for both flavor and as a preservative. Artificial flavoring, meat tenderizers and coloring, many of which contain salt, can also contribute to high sodium levels. In nearly all jerky recipes, Insta Cure #1 or pink salt is used as a preservative and to prevent foodborne pathogens. In the amounts generally called for in making jerky, pink salt by itself is not overly harmful to human health, but the amount of overall salt content can be reduced. We started out by simply including whatever amount of sugar and pink salt a particular recipe called for but now use low or reduced sodium soy sauce, Worcestershire, liquid smoke and other ingredients when making our marinade. Doing so cuts the amount of salt by as much as 50% and, by adding salt-free flavorings such as garlic and onion powder, we didn’t sacrifice taste. In fact, using less salt enhanced the flavor. For sweetness, honey is a healthy and good alternative to either white or brown sugar. Salt can be eliminated completely by using only salt-free ingredients, but the jerky is best consumed within a week or so.
The nice thing about homemade venison jerky is that it can be made with whatever marinade ingredients you want in it — ingredients that suit your health concerns and taste.
Tools Of the Trade
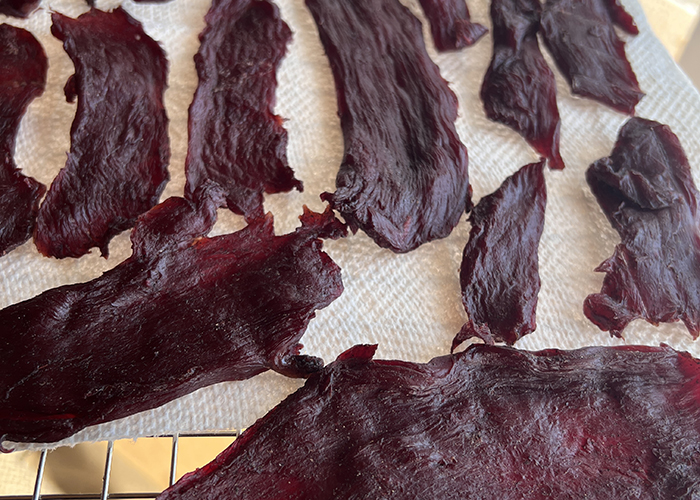
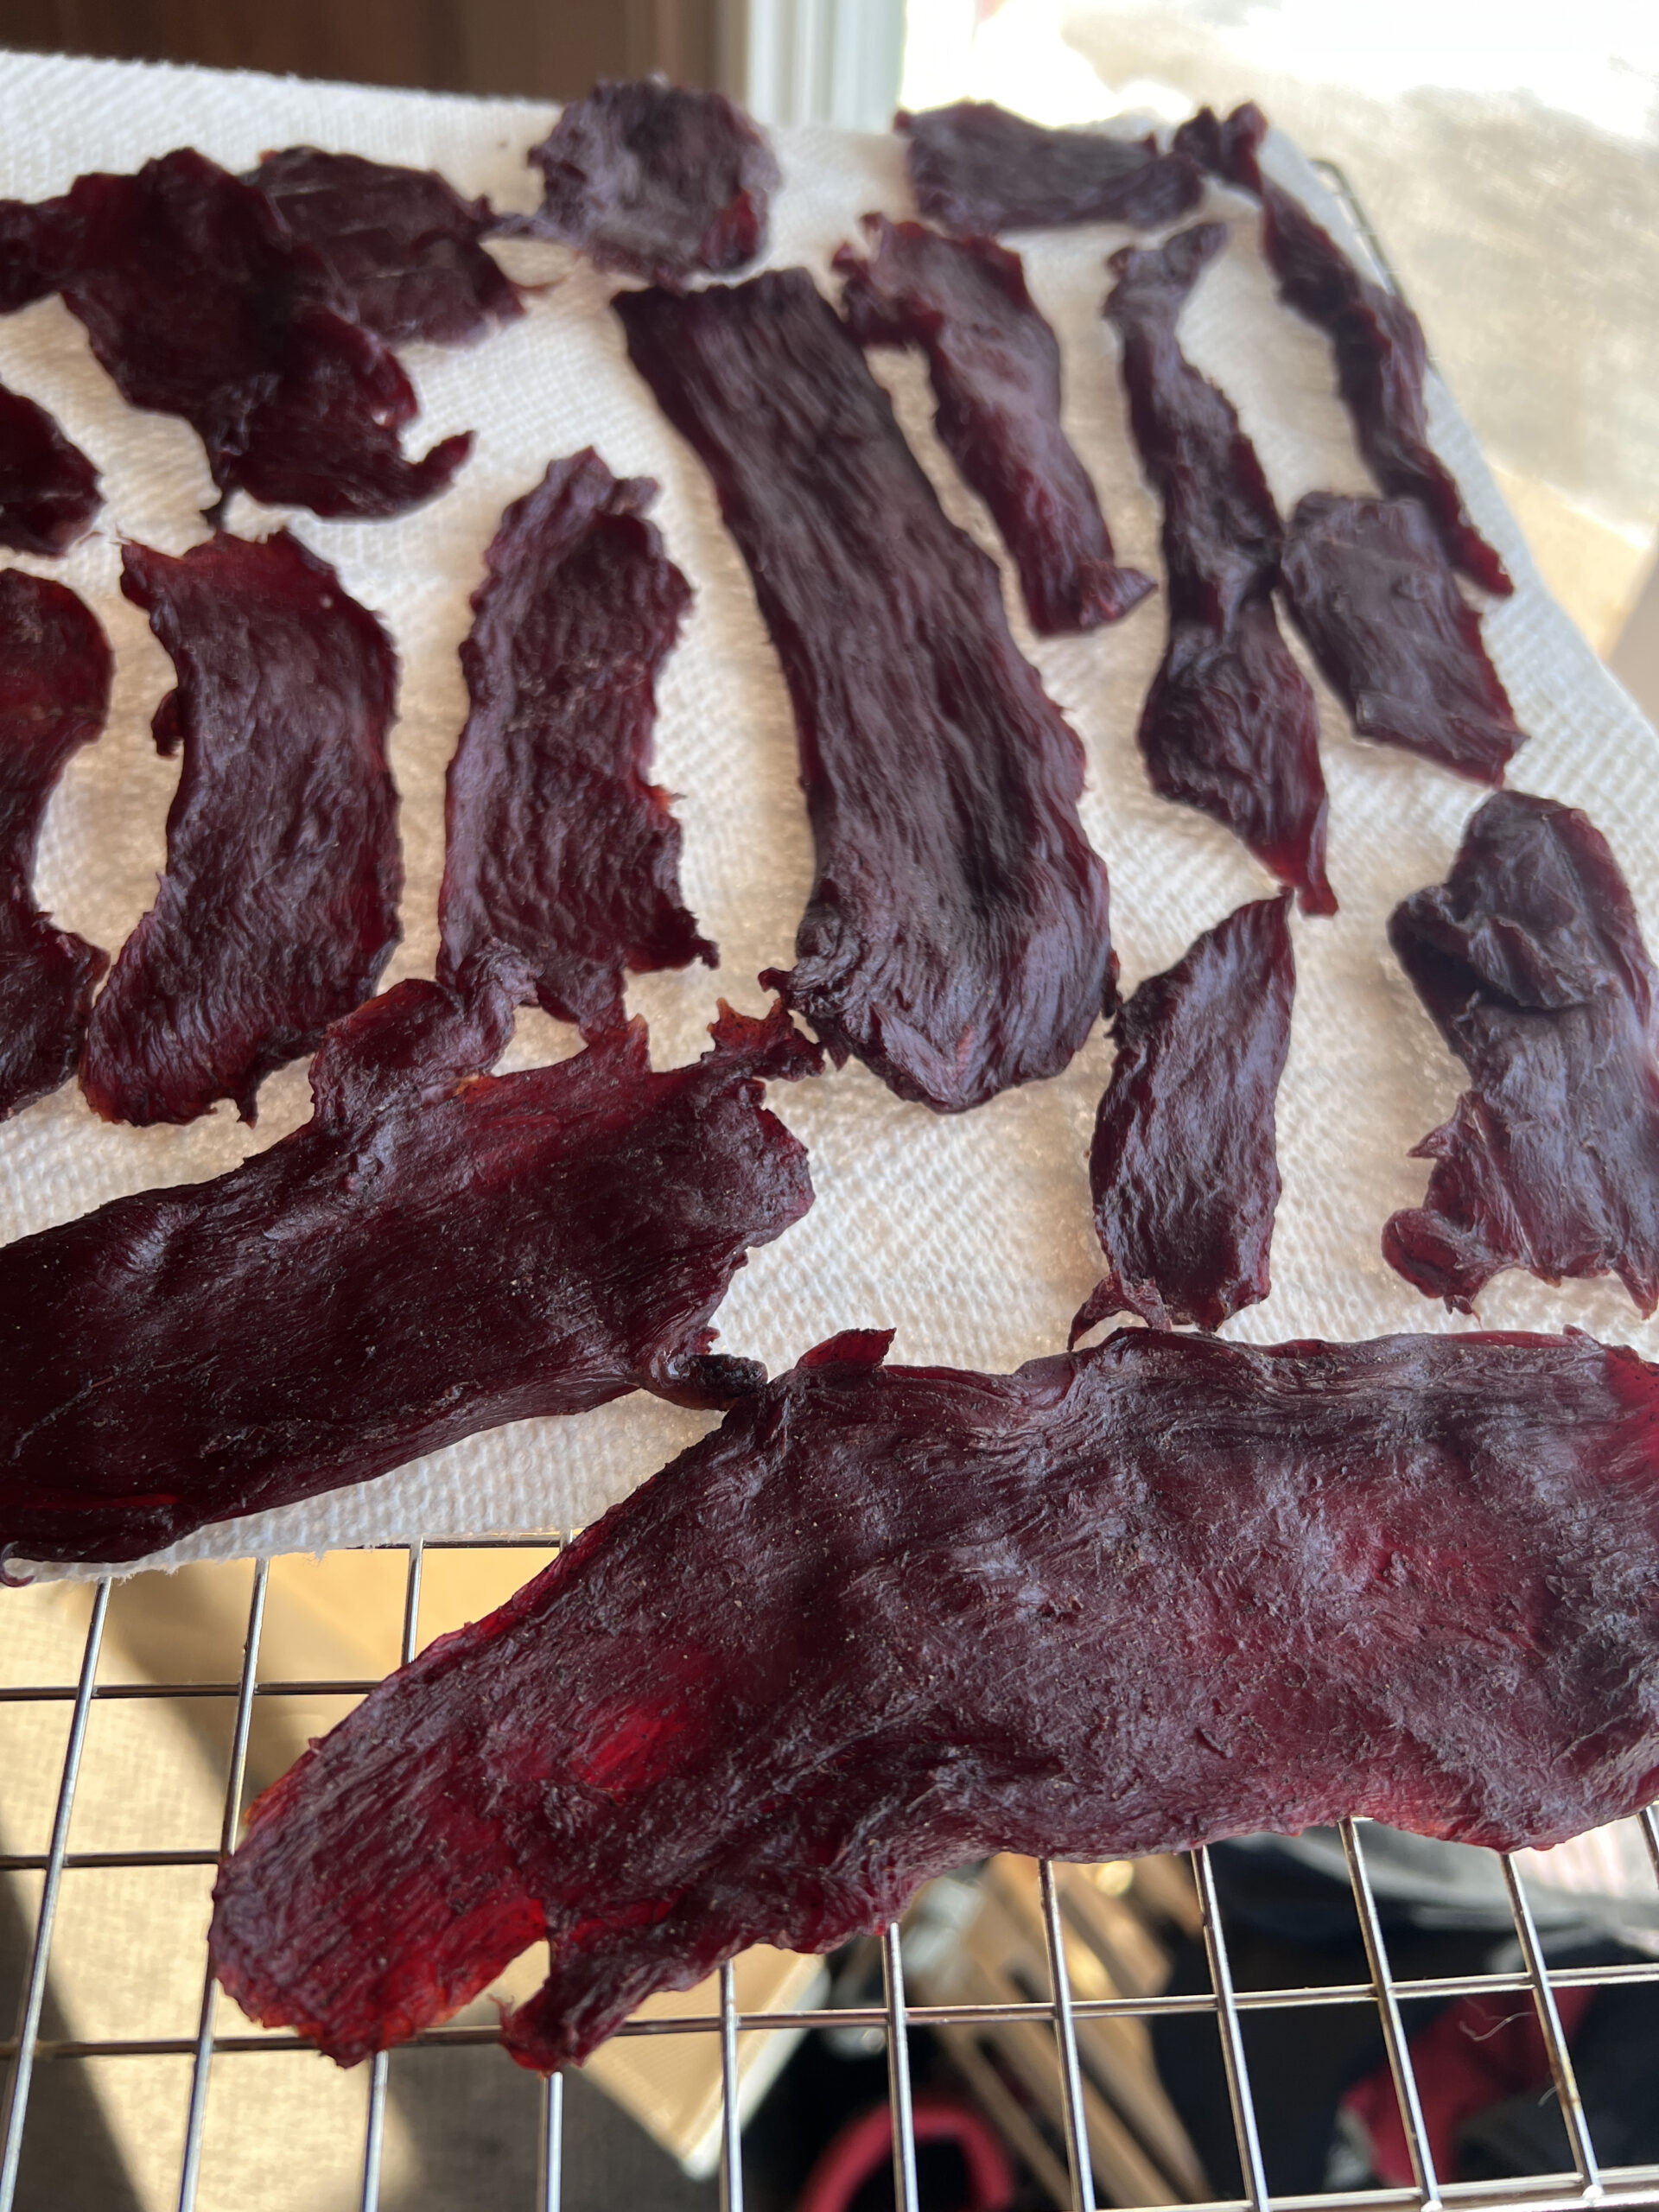
Making jerky takes a little time but is easy and requires few tools. In fact, most family kitchens will have what is needed to get started or make the occasional batch. Strips of venison can be cut to the desired thickness with a sharp knife, although the slicing will be much easier if the venison is partially frozen. Wrap the venison in plastic wrap and stick it the freezer for an hour or two until firm. Do not wait until it is completely frozen, just enough so it feels firm to the touch and doesn’t squish under pressure. You’ll get much more uniform slices this way. Once ready, the strips can be finished in the oven. Other than that, a bowl or two for making and marinating the venison, some paper towels and storage containers are all that is required.
Knife vs Slicer
If you get to be real jerky fiends like we are and want to make several batches or replenish your supply at some point, investing in an electric meat slicer will make the meat slicing process easier. The venison doesn’t have to be partially frozen, although it can be, and the result is perfect slices of uniform thickness. Electric slicers are designed with an adjustable setting for thickness. The key to making good jerky is consistent one-quarter inch slices, and it is easy to get that uniformity with a slicer. Manual jerky slicers are also available and less expensive. Most do not come with an adjustable thickness guide, but since they are designed for making jerky the thickness is correct. The nice thing about having a slicer on hand is that it can be used to slice other meats, too – left-over turkey after Thanksgiving, ham after Easter, even fruits and vegetables. A slicer will quickly earn its investment cost.
Oven vs Dehydrator
Another tool we’ve invested in is a dehydrator. As just mentioned, while jerky can be dried in an oven, a dehydrator is much easier and more convenient. Depending upon the oven and how supple or crisp you want the result to be, it can take three to eight hours to make jerky in a pre-heated 170-degree to 200-degree oven, checking it after three hours or so and cooking more if desired. A rimmed cookie pan should be placed on the bottom of the oven to collect drippings, and during the cooking process the oven door should be propped open often slightly to allow moisture to escape and air to circulate. For this, a wooden spoon works well. Once patted dry, the strips of venison can be simply draped or laid flat on the oven rack.
With a dehydrator, however, all that’s generally required is to place the strips on the racks and, depending on the unit, push the “on” button or set the desired temperature and timer controls. That’s it. So much easier!
It’s true, some dehydrators are a bit pricey depending on size, construction materials, wattage, number of racks, type of temperatures and timing controls, circulation system and other available features on some models. Rest easy – it’s not necessary to mortgage the house to make the investment. The only thing to make sure of is that the unit is rated to make jerky. Cleanup is easier with a dehydrator and while dehydrators use electricity, a dehydrator typically takes less time to get the finished product than a conventional electric or propane stove oven. So, if you are electricity or propane-cost conscious like we are, it helps offset the initial investment. The unit can also be used to make other dehydrated fruit and vegetable snacks, all of which are tasty, healthy, and convenient in the deer woods. Like a meat slicer, a dehydrator will certainly earn its keep.
The Best Cuts
There are very few parts of a deer that can’t be used to make jerky, and at some point or another, we have used nearly every cut. Some are, however, better than others. Unlike other red meats, venison is relatively lean. This works to our favor, as deer fat doesn’t dehydrate well and spoils quickly. By removing excess fat and sinew, both overall taste and texture is enhanced.
Some folks shun using neck meat, but, when made into jerky, neck meat can be quite tasty. The key is removing the thin, stringy or sinewy silver skin layers. It takes some time and effort but there’s no reason to waste or not use the neck cut for jerky.
The flank portions are generally small and thin and, while often ground along with other undesirable cuts into burger or stew meat, flank meat is easy to work with and flavorful. The same is true of shoulder cuts. Being a muscle, shoulder cuts are a bit tougher and, like neck meat time should be taken to remove the silvery sinew layers, but the shoulder portions make fine jerky when properly trimmed.
I avoid using the backstrap, loin and tenderloins when making jerky. As every hunter knows, these cuts are tender, juicy and highly flavorful. They make excellent jerky, but both are relatively small compared to other cuts and in my humble opinion are best put to other use, like broiled on the grill or fried and served up with some sauteed onions, maybe with the green peppers mixed in along with some fried potatoes. Every deer camp’s favorite!
We don’t eat many roasts in our house. It’s just too much for the two of us, so our eye of round, top round and rump roasts go into jerky. The roasts can be of good size, so you get lots of jerky from one or two cuts. We do dine on a few steaks, but even some sirloin gets made into jerky.
With Or Against the Grain
We have experimented both ways and, like everything else, everyone seems to have a personal favorite method of slicing their venison for jerky. Personally, we prefer slicing with the grain. The finished product is harder to bite through and chewier but allows us to savor every bit, which we like. Cutting against the grain results in a jerky that is more tender and easier to bite and chew. There is no wrong or right way to slice your venison for jerky, and it is not unusual for us to slice some both ways just to have a variety. Experiment with both methods to see which you prefer.
Making Marinade
Commercial marinades are readily available and numerous recipes are available on blogs, the world wide web and cookbooks. The wonderful and fun thing about homemade jerky is that it can be as sweet or tangy, mild or hot, salty or not as you want to make it. Whatever suits your taste buds goes. For a starting point, there are a few ingredients besides pink salt for curing and preserving that, separately or in combination, are generally considered “musts” and are popular elements in most homemade recipes.
Topping the list are soy sauce and Worcestershire, either regular or low sodium, honey, maple syrup or brown sugar for sweetness, black pepper or red pepper flakes, garlic powder and onion powder. Liquid smoke and smoked paprika are also popular ingredients. Don’t hesitate to experiment.
Making the marinade is easy. We typically mix everything in a bowl and, after placing the venison strips in a resealable plastic bag, pour in the marinade and shake to make sure all strips are thoroughly covered. The bag or bags are then placed in the fridge and allowed to marinate for at least 12 hours. For a richer, bolder product, we allow them to set overnight to infuse all the flavors. The length of time to marinate is up to you. To experiment, take some out early after six hours or so and leave some to marinate longer.
Storing Your Jerky
If properly cured and dried, homemade jerky is easy and safe to store for up to a month. It is best to consume it within around two or three weeks, however, for the ultimate quality and flavor. Any airtight container such as Tupperware or even mason jars will work nicely. We use a vacuum sealer for all our venison, and they work great for homemade jerky. The sealed bags keep out air and moisture that can affect quality and freshness. Whatever is used, store the jerky in a pantry, cupboard, or any cool, dry, dark place, ideally where the humidity is kept low. If you want to keep jerky longer, storing it in the fridge or freezer is the way to go.
Fortunately, our jerky doesn’t last long, which is why we make it all the time when venison is available. Chances are you will, too.